Sgraffito Thanksgiving Corn
Sgraffito, (Italian: “scratched”), in the visual arts, a technique used in painting, pottery, and glass, which consists of putting down a preliminary surface, covering it with another, and then scratching the superficial layer in such a way that the pattern or shape that emerges is of the lower colour. - from the Encyclopedia Britannica
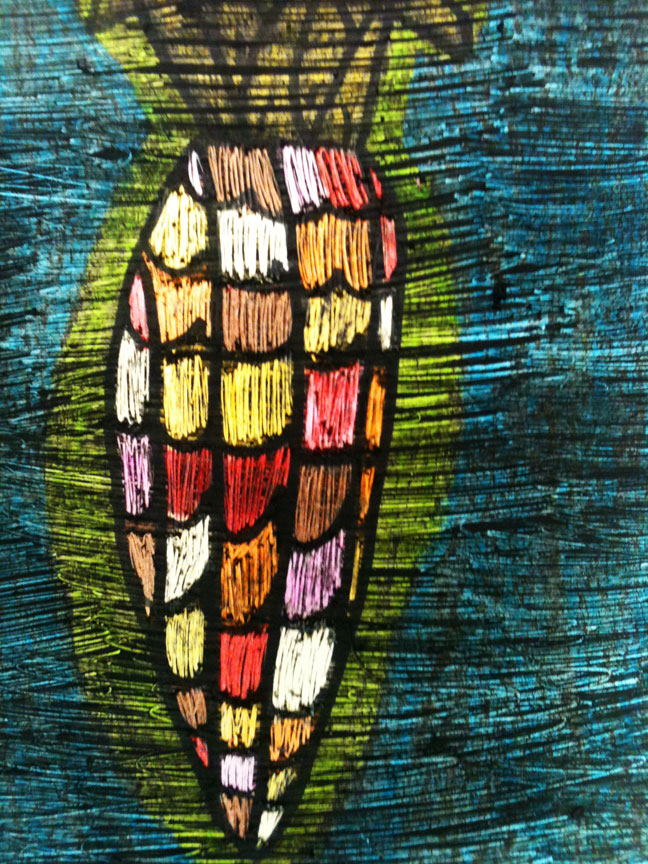
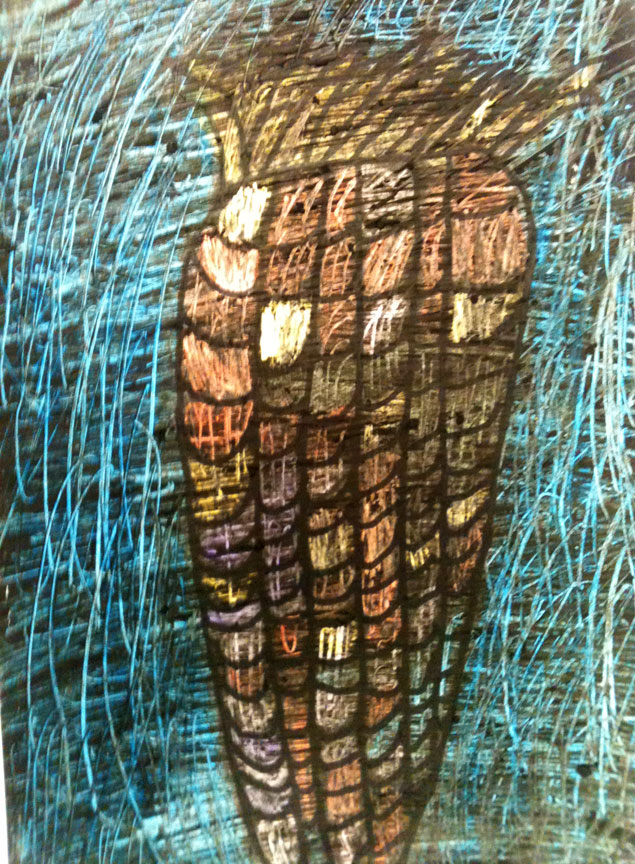
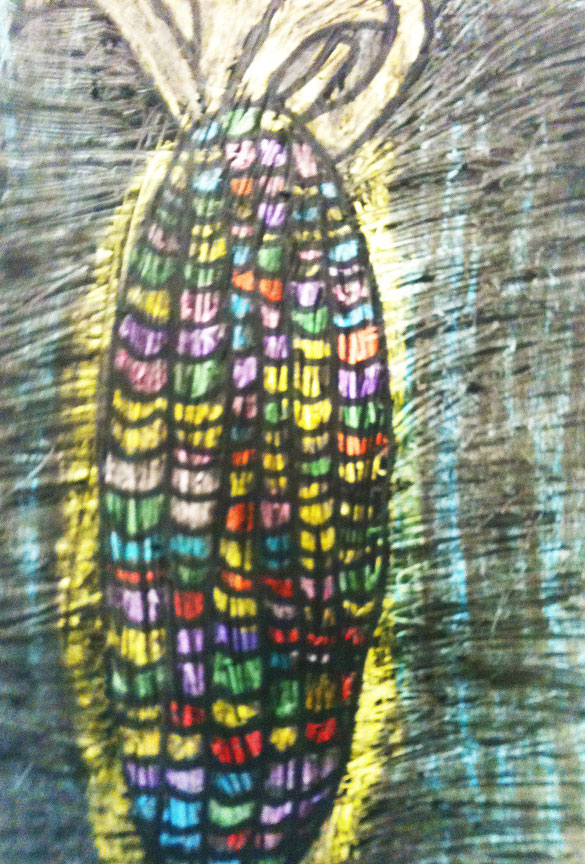
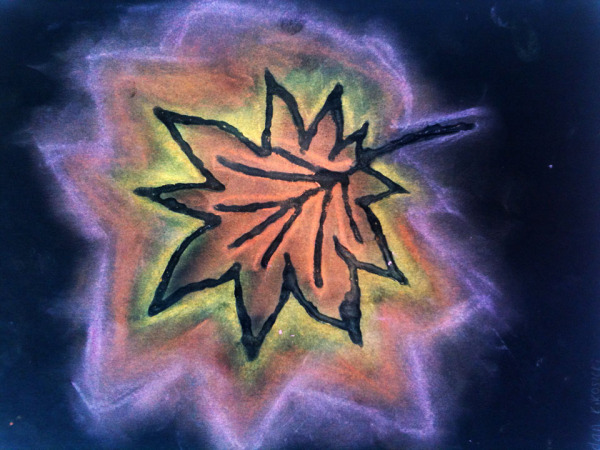
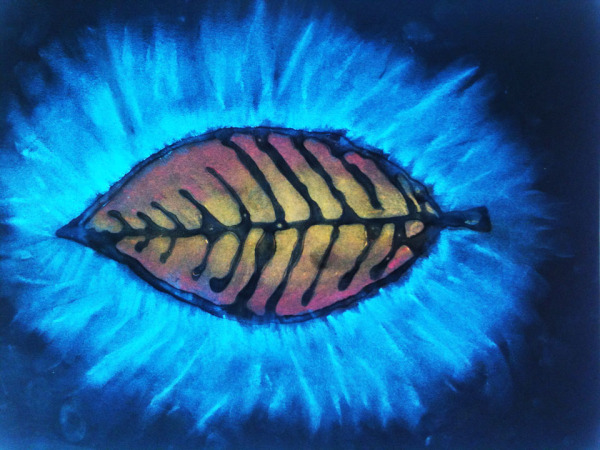
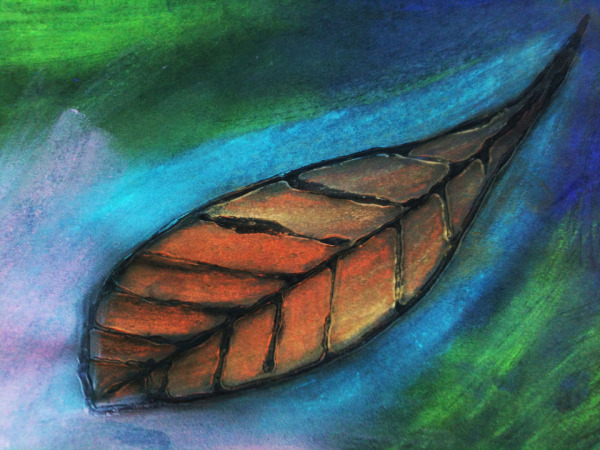
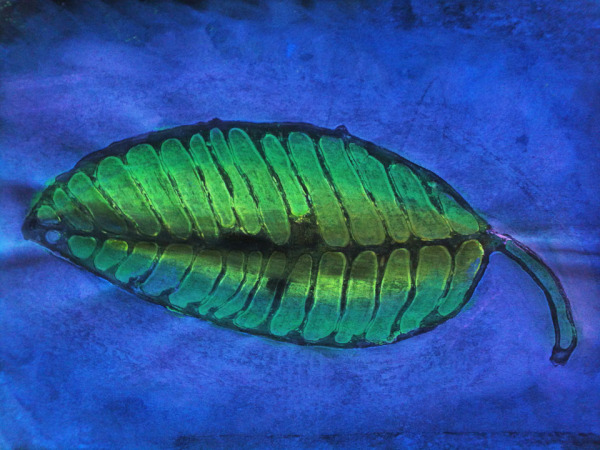
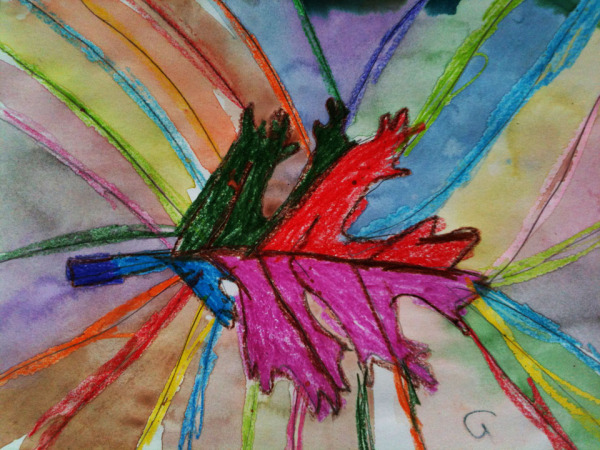
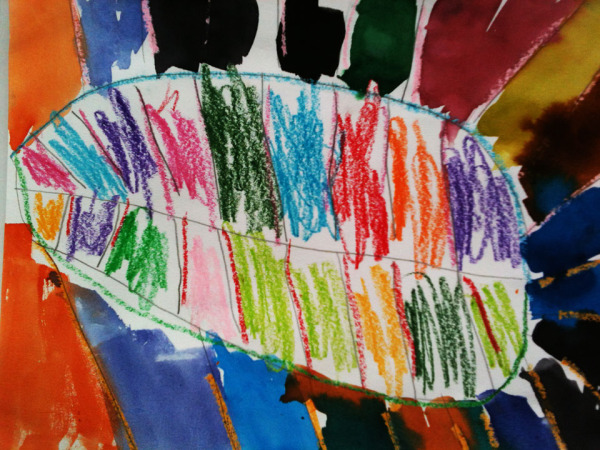
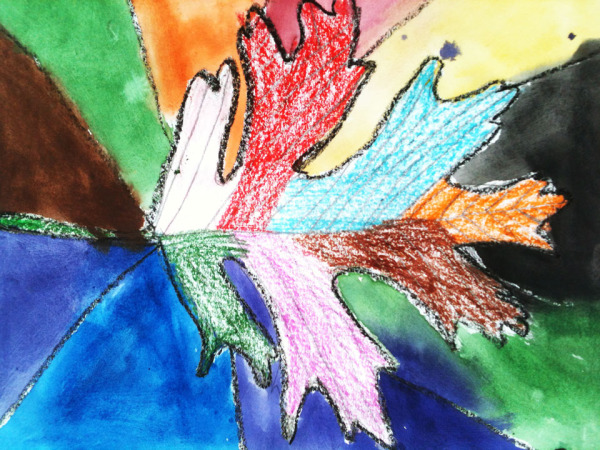
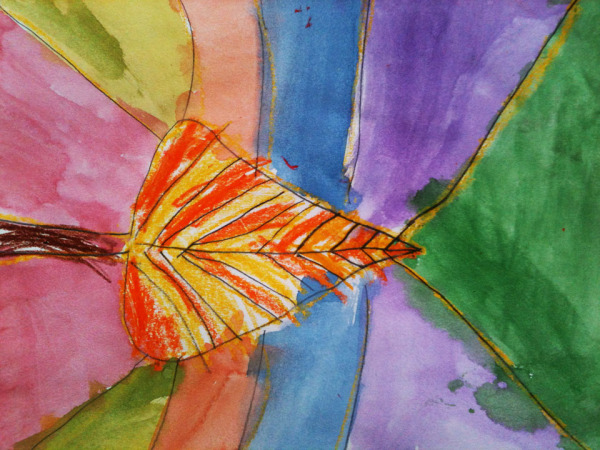
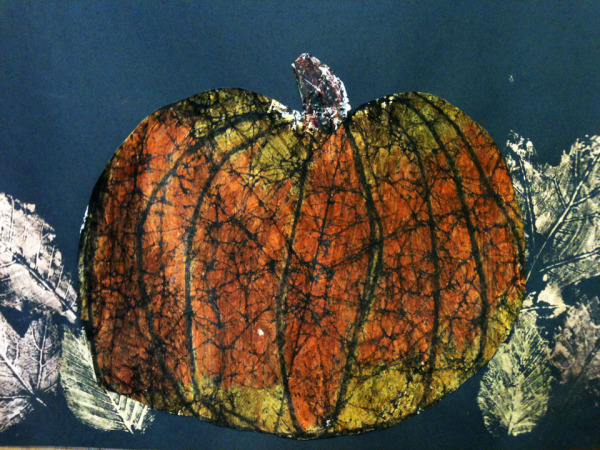
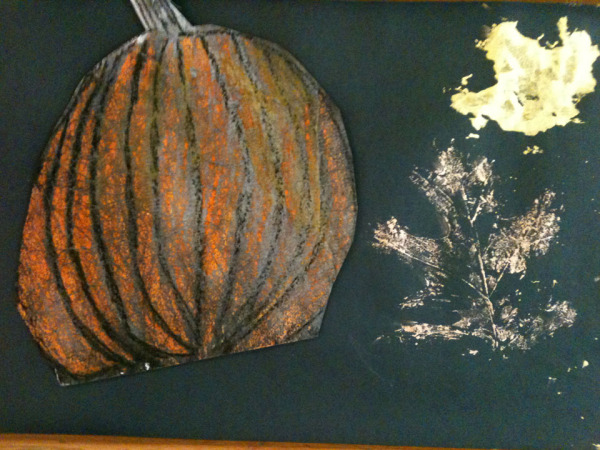
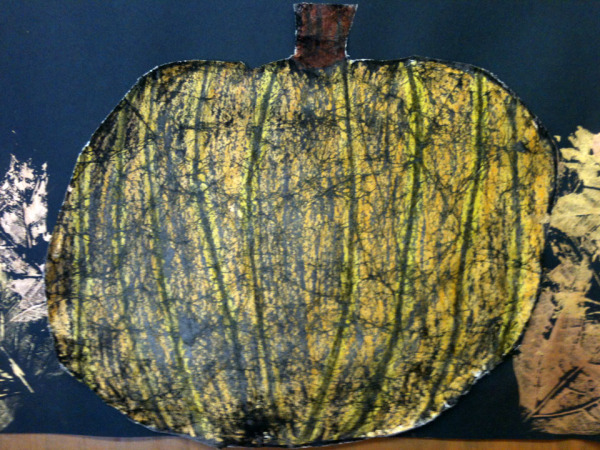
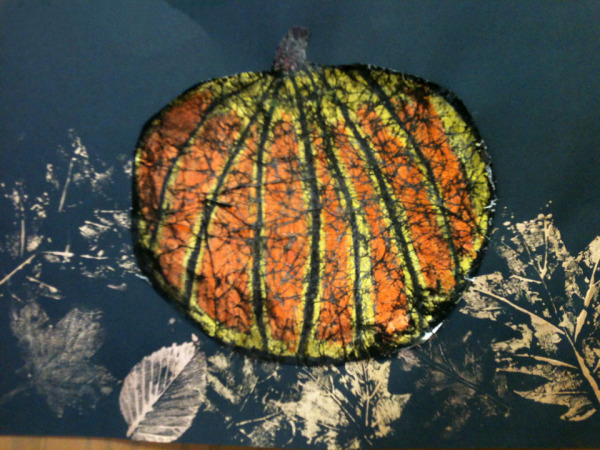
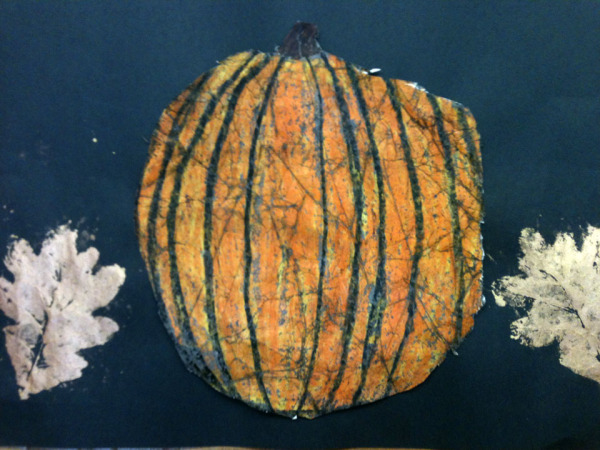
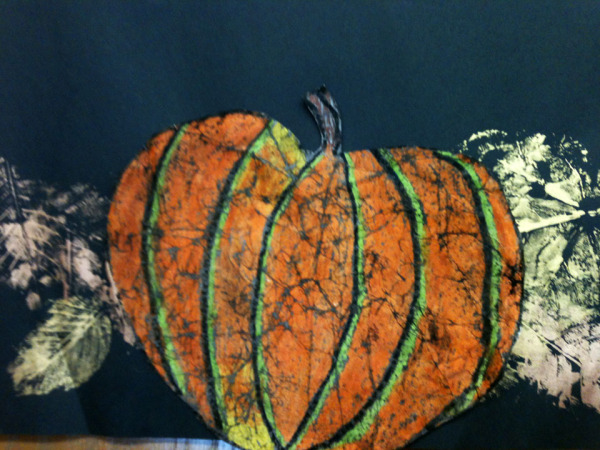
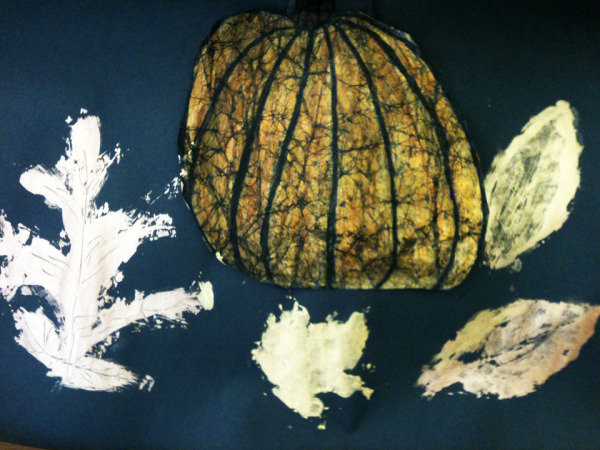
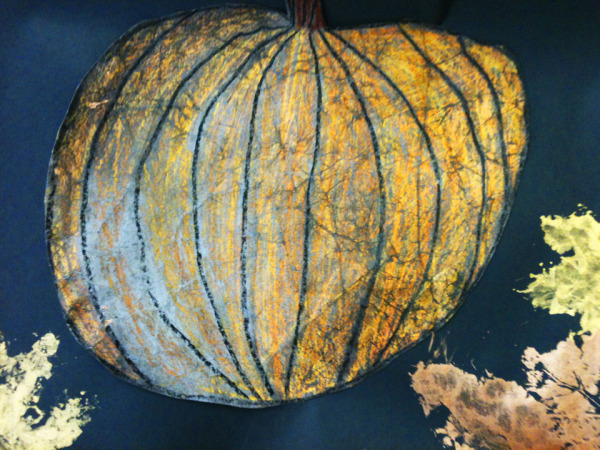
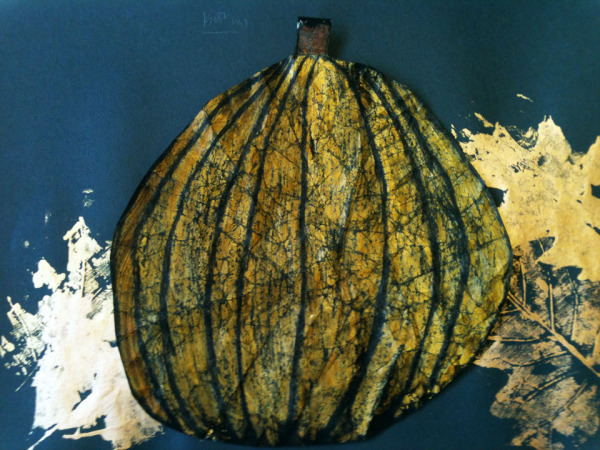
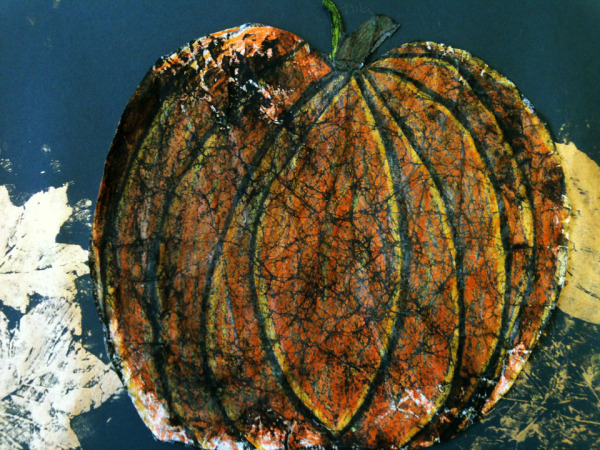
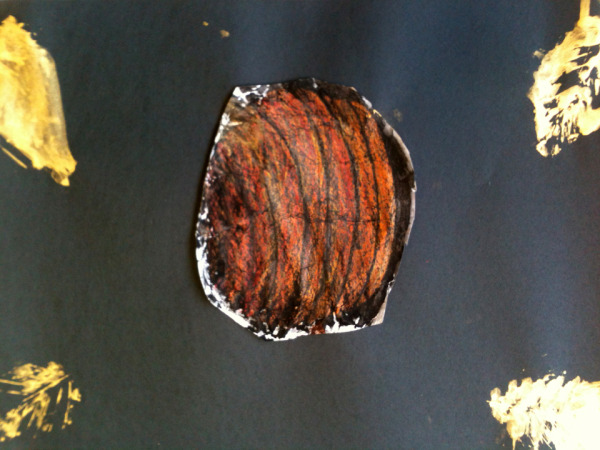
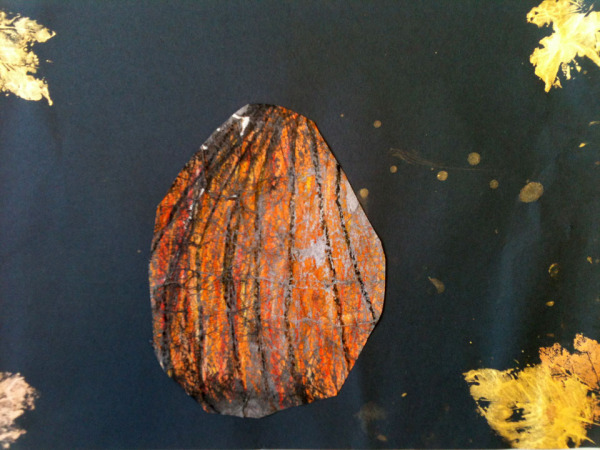
Sgraffito is a very old technique our 4/5 students used to create these Thanksgiving Indian corn pieces. After using simple lines to draw an ear of corn with black sharpie, students colored in the corn with crayon in warm, bright colors. Backgrounds used complementary colors (opposite on the color wheel) to create a strong contrast. A layer of thick black oil pastel then covered the entire piece. Imagine how hard that was to do; covering your brightly colored artwork with black pastel! Yet that step is what makes this technique possible. Using a pointed wooden stick, the top layer is scraped of to reveal the color beneath. The best results are achieved when the direction of the scratches are varied to create visual interest. (Thanks to Kathy Barbro at Art Projects for Kids for this project idea.)
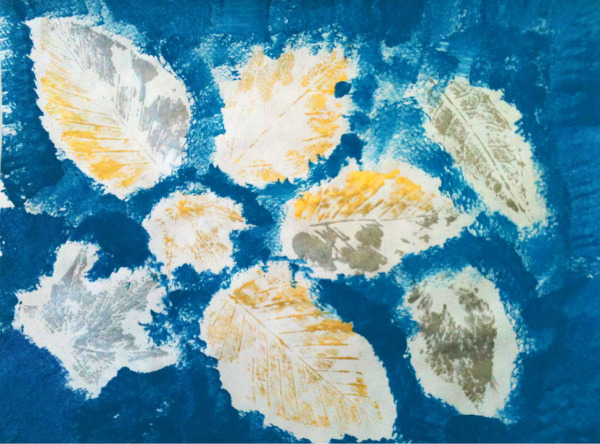
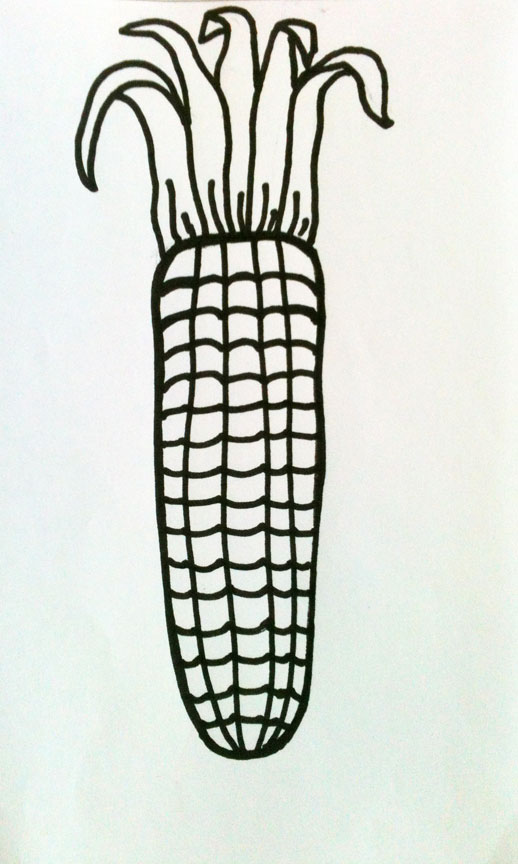 Step 1
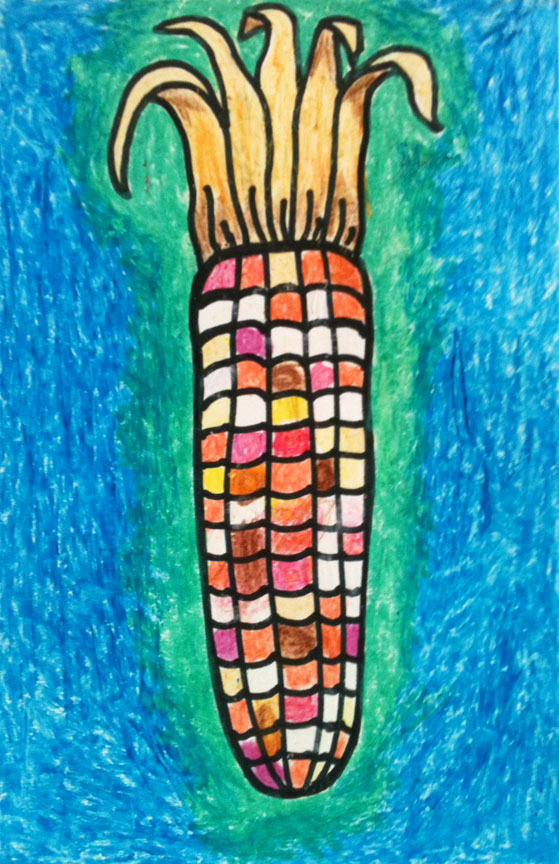 Step 2
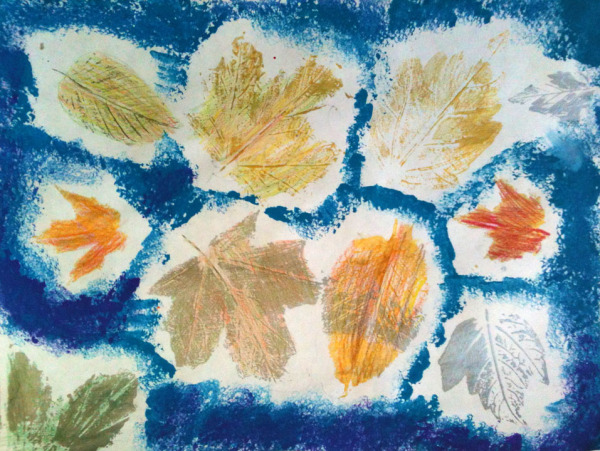
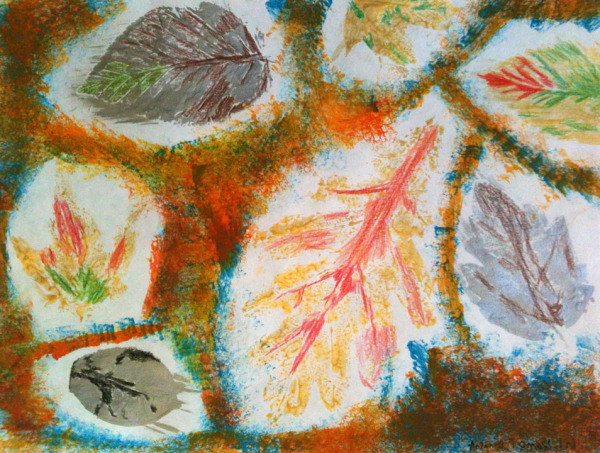
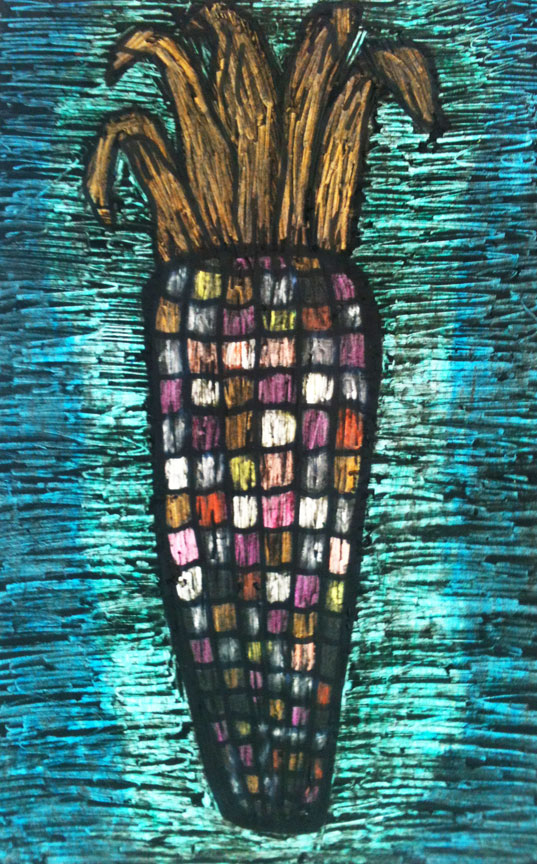 Step 3
 Art With Mrs. French