Welcome to Art with Mrs. French

I've put together this site to showcase some of the wonderful art work my students are creating. Take a look around and enjoy!

We Are Art Smart!

Howard Gardner, Ph.D., professor at Harvard University, first identified seven different kinds of intelligence in his classic book Frames of Mind. His theory has challenged assumptions about intelligence and learning and deeply influenced the path of education in the United States.

Gardner identifies Spatial intelligence as the ability to "think in pictures," to perceive the visual world accurately, and recreate (or alter) it in the mind or on paper. Spatial intelligence is highly developed in artists, architects, designers and sculptors. When we create art, thinking and acting to increase and develop our spatial intelligence, we become Art Smart!

Click here for an interesting article from ARTSEDGE on why being Art Smart is an important 21st century workplace skill.

About me

Julie French

I started my career in advertising as a graphic designer working with some very interesting businesses and non-profits. Click here to see some of that work. After taking time off to start a family, I wanted to combine my two loves — children and art. I'm now in my eighth year teaching art and I love it! My students' creativity amazes me every day, they are a joy to work with.

Contact Me

Parents may reach me through our school website, everyone else please email juliefrench@mac.com.

Entries in 4/5/6th grades (24)

Thursday
May142015

Warm & Cool Relief Sculptures

Fifth grade students incorporated their knowledge of line variety, organic vs. geometric shapes, and warm and cool colors to build these three dimensional paper sculptures. To see the rubric for this project, along with the Visual Art Content Standards and Student Learning Objectives the lesson addressed, click here.

Tuesday
Jul012014

Aliens in Space

Our 4/5 class enjoyed drawing these fantastical creatures in crayon, cutting them out, then placing them in outer space, complete with stars and planets.The project required an understanding of symmetry, and emphasis was put on the balance of their design as well as the unique features of their creatures.


Friday
Dec062013

Sgraffito Thanksgiving Corn


Sgraffito,  (Italian: “scratched”), in the visual arts, a technique used in painting, pottery, and glass, which consists of putting down a preliminary surface, covering it with another, and then scratching the superficial layer in such a way that the pattern or shape that emerges is of the lower colour. - from the Encyclopedia Britannica


Sgraffito is a very old technique our 4/5 students used to create these Thanksgiving Indian corn pieces. After using simple lines to draw an ear of corn with black sharpie, students colored in the corn with crayon in warm, bright colors. Backgrounds used complementary colors (opposite on the color wheel) to create a strong contrast. A layer of thick black oil pastel then covered the entire piece. Imagine how hard that was to do; covering your brightly colored artwork with black pastel! Yet that step is what makes this technique possible. Using a pointed wooden stick, the top layer is scraped of to reveal the color beneath. The best results are achieved when the direction of the scratches are varied to create visual interest. (Thanks to Kathy Barbro at Art Projects for Kids for this project idea.)

Step 1Step 2

Step 3

Friday
Oct182013

Abstract Name Art

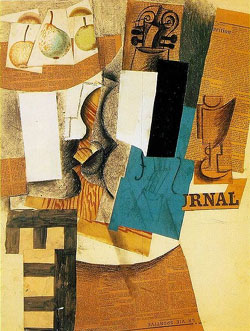
The beginning of the new school year is a good time to incorporate student names into art work, and this year our grade 6, 7 and 8 classes turned their names into abstract art. Abstract art does not attempt to represent external, recognizable reality but achieves its effect using shapes, forms, colors, and textures.
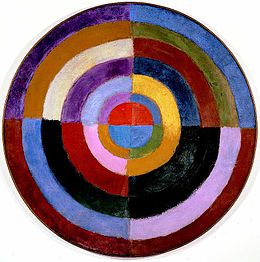
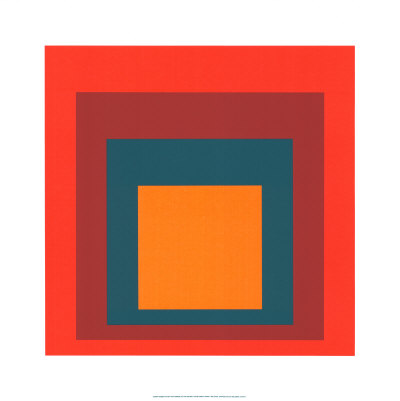
 Le Premier DisqueRobert Le Delaunday 1912-13                       Homage to the Square, Josef Albers


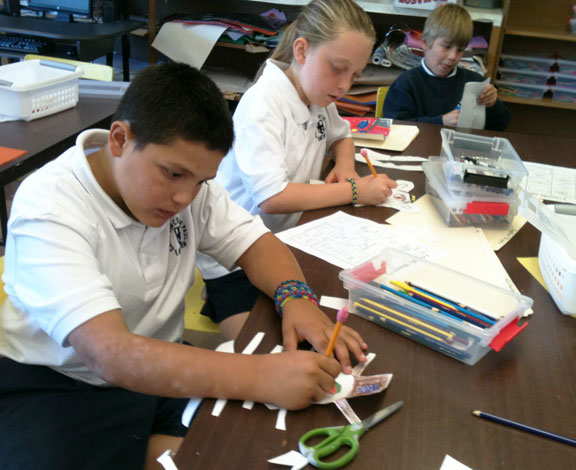
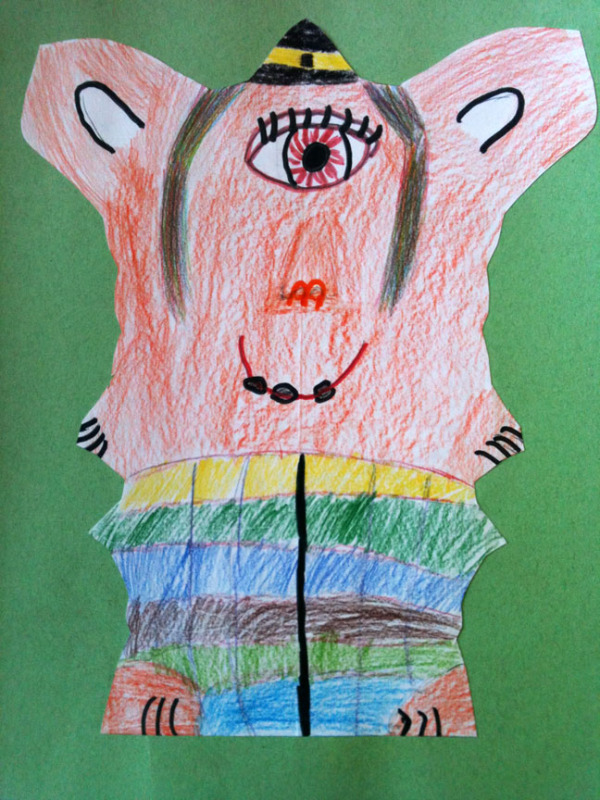
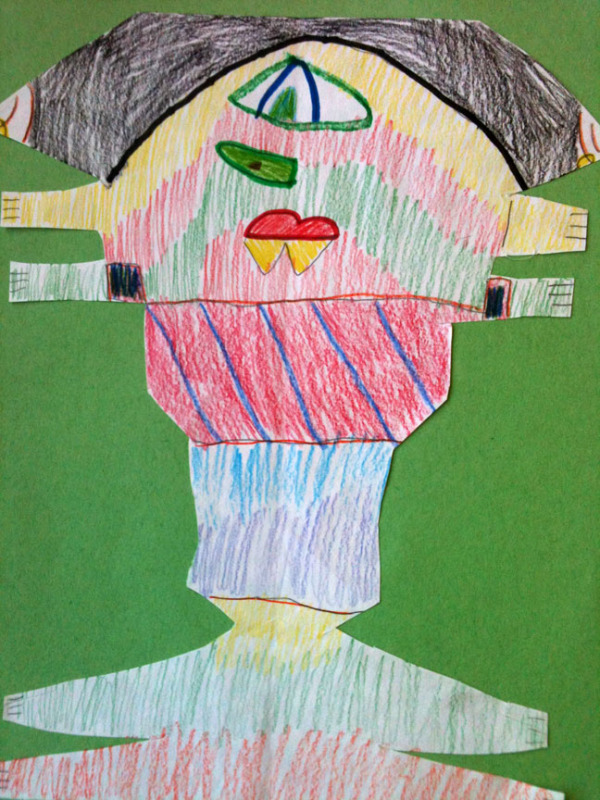
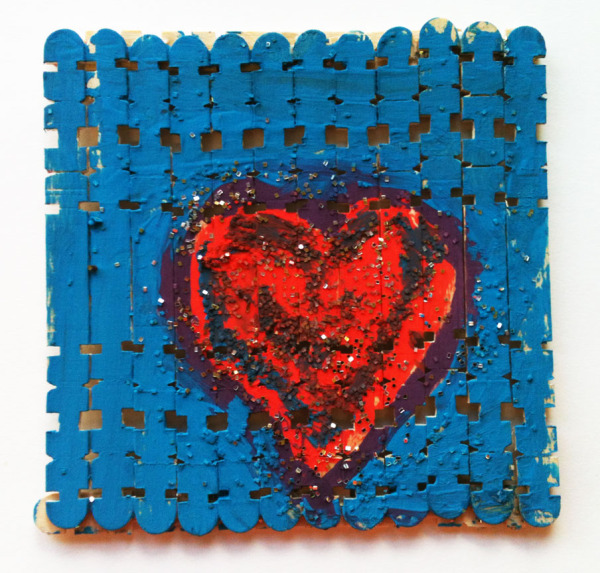
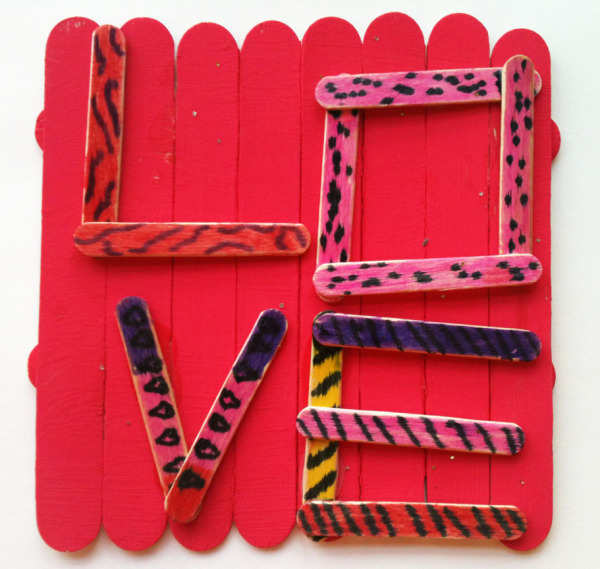
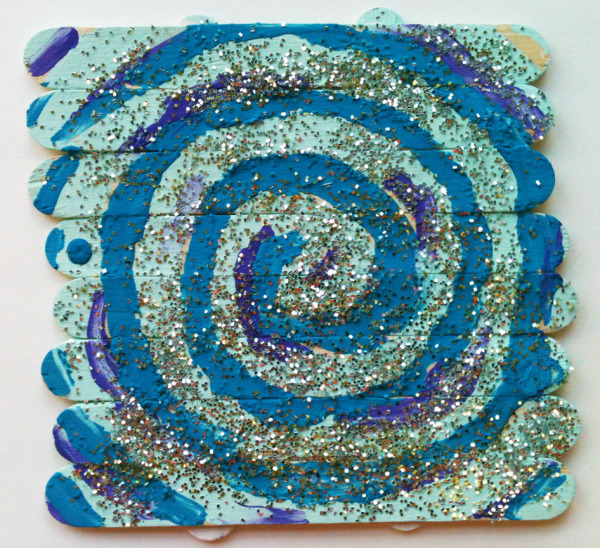
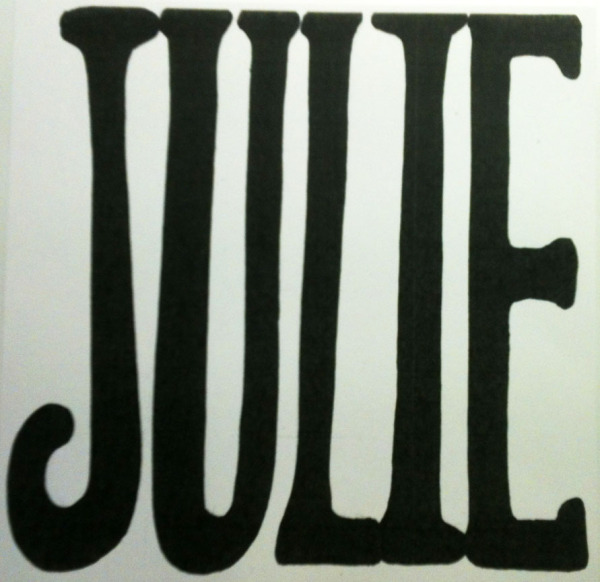
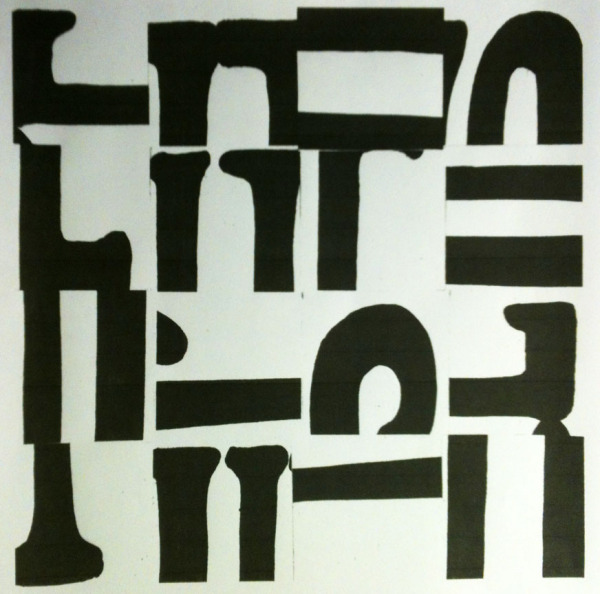
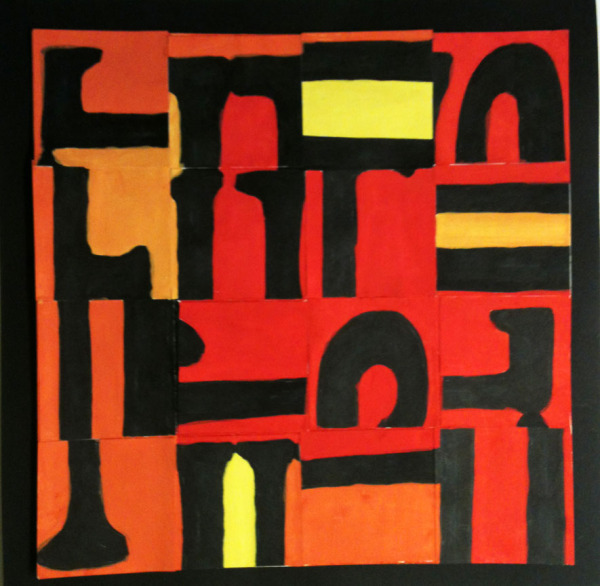
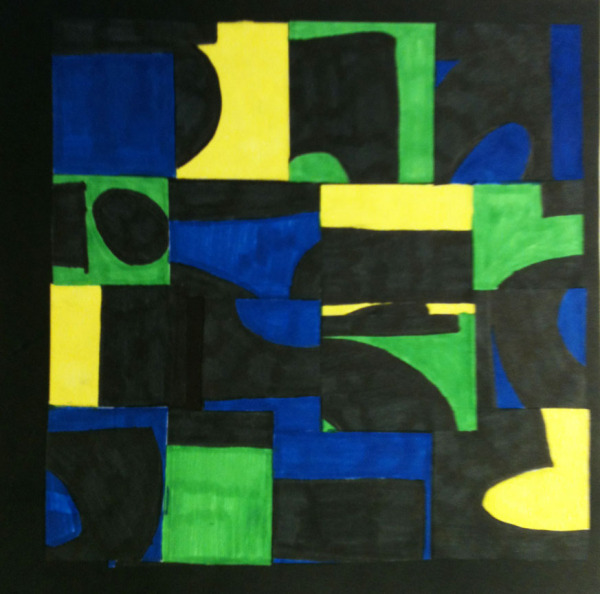
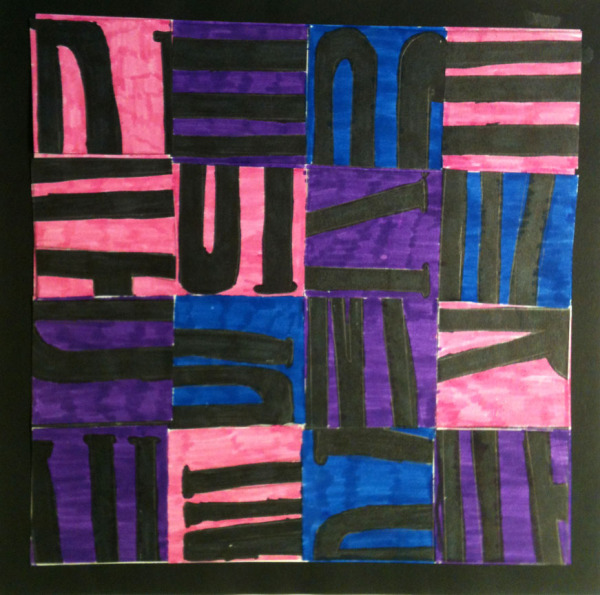
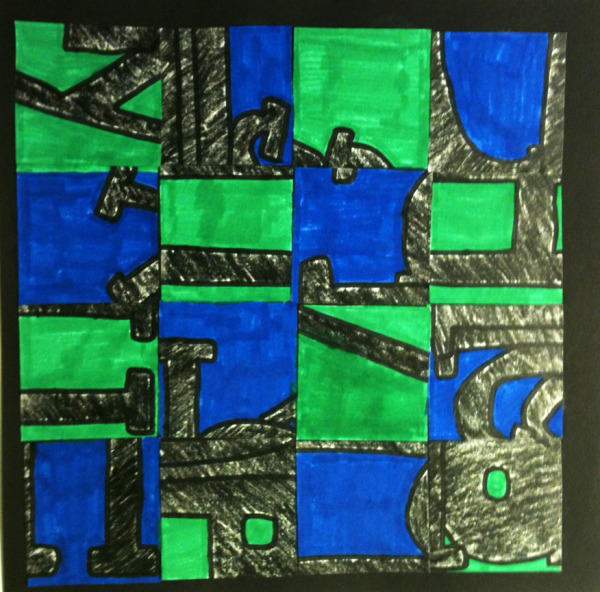
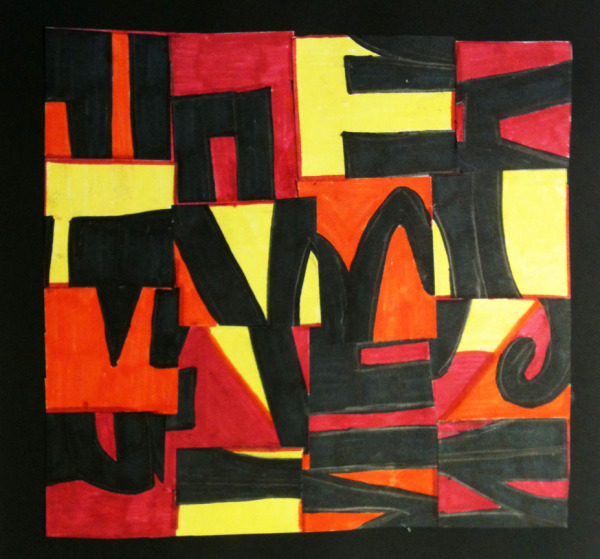
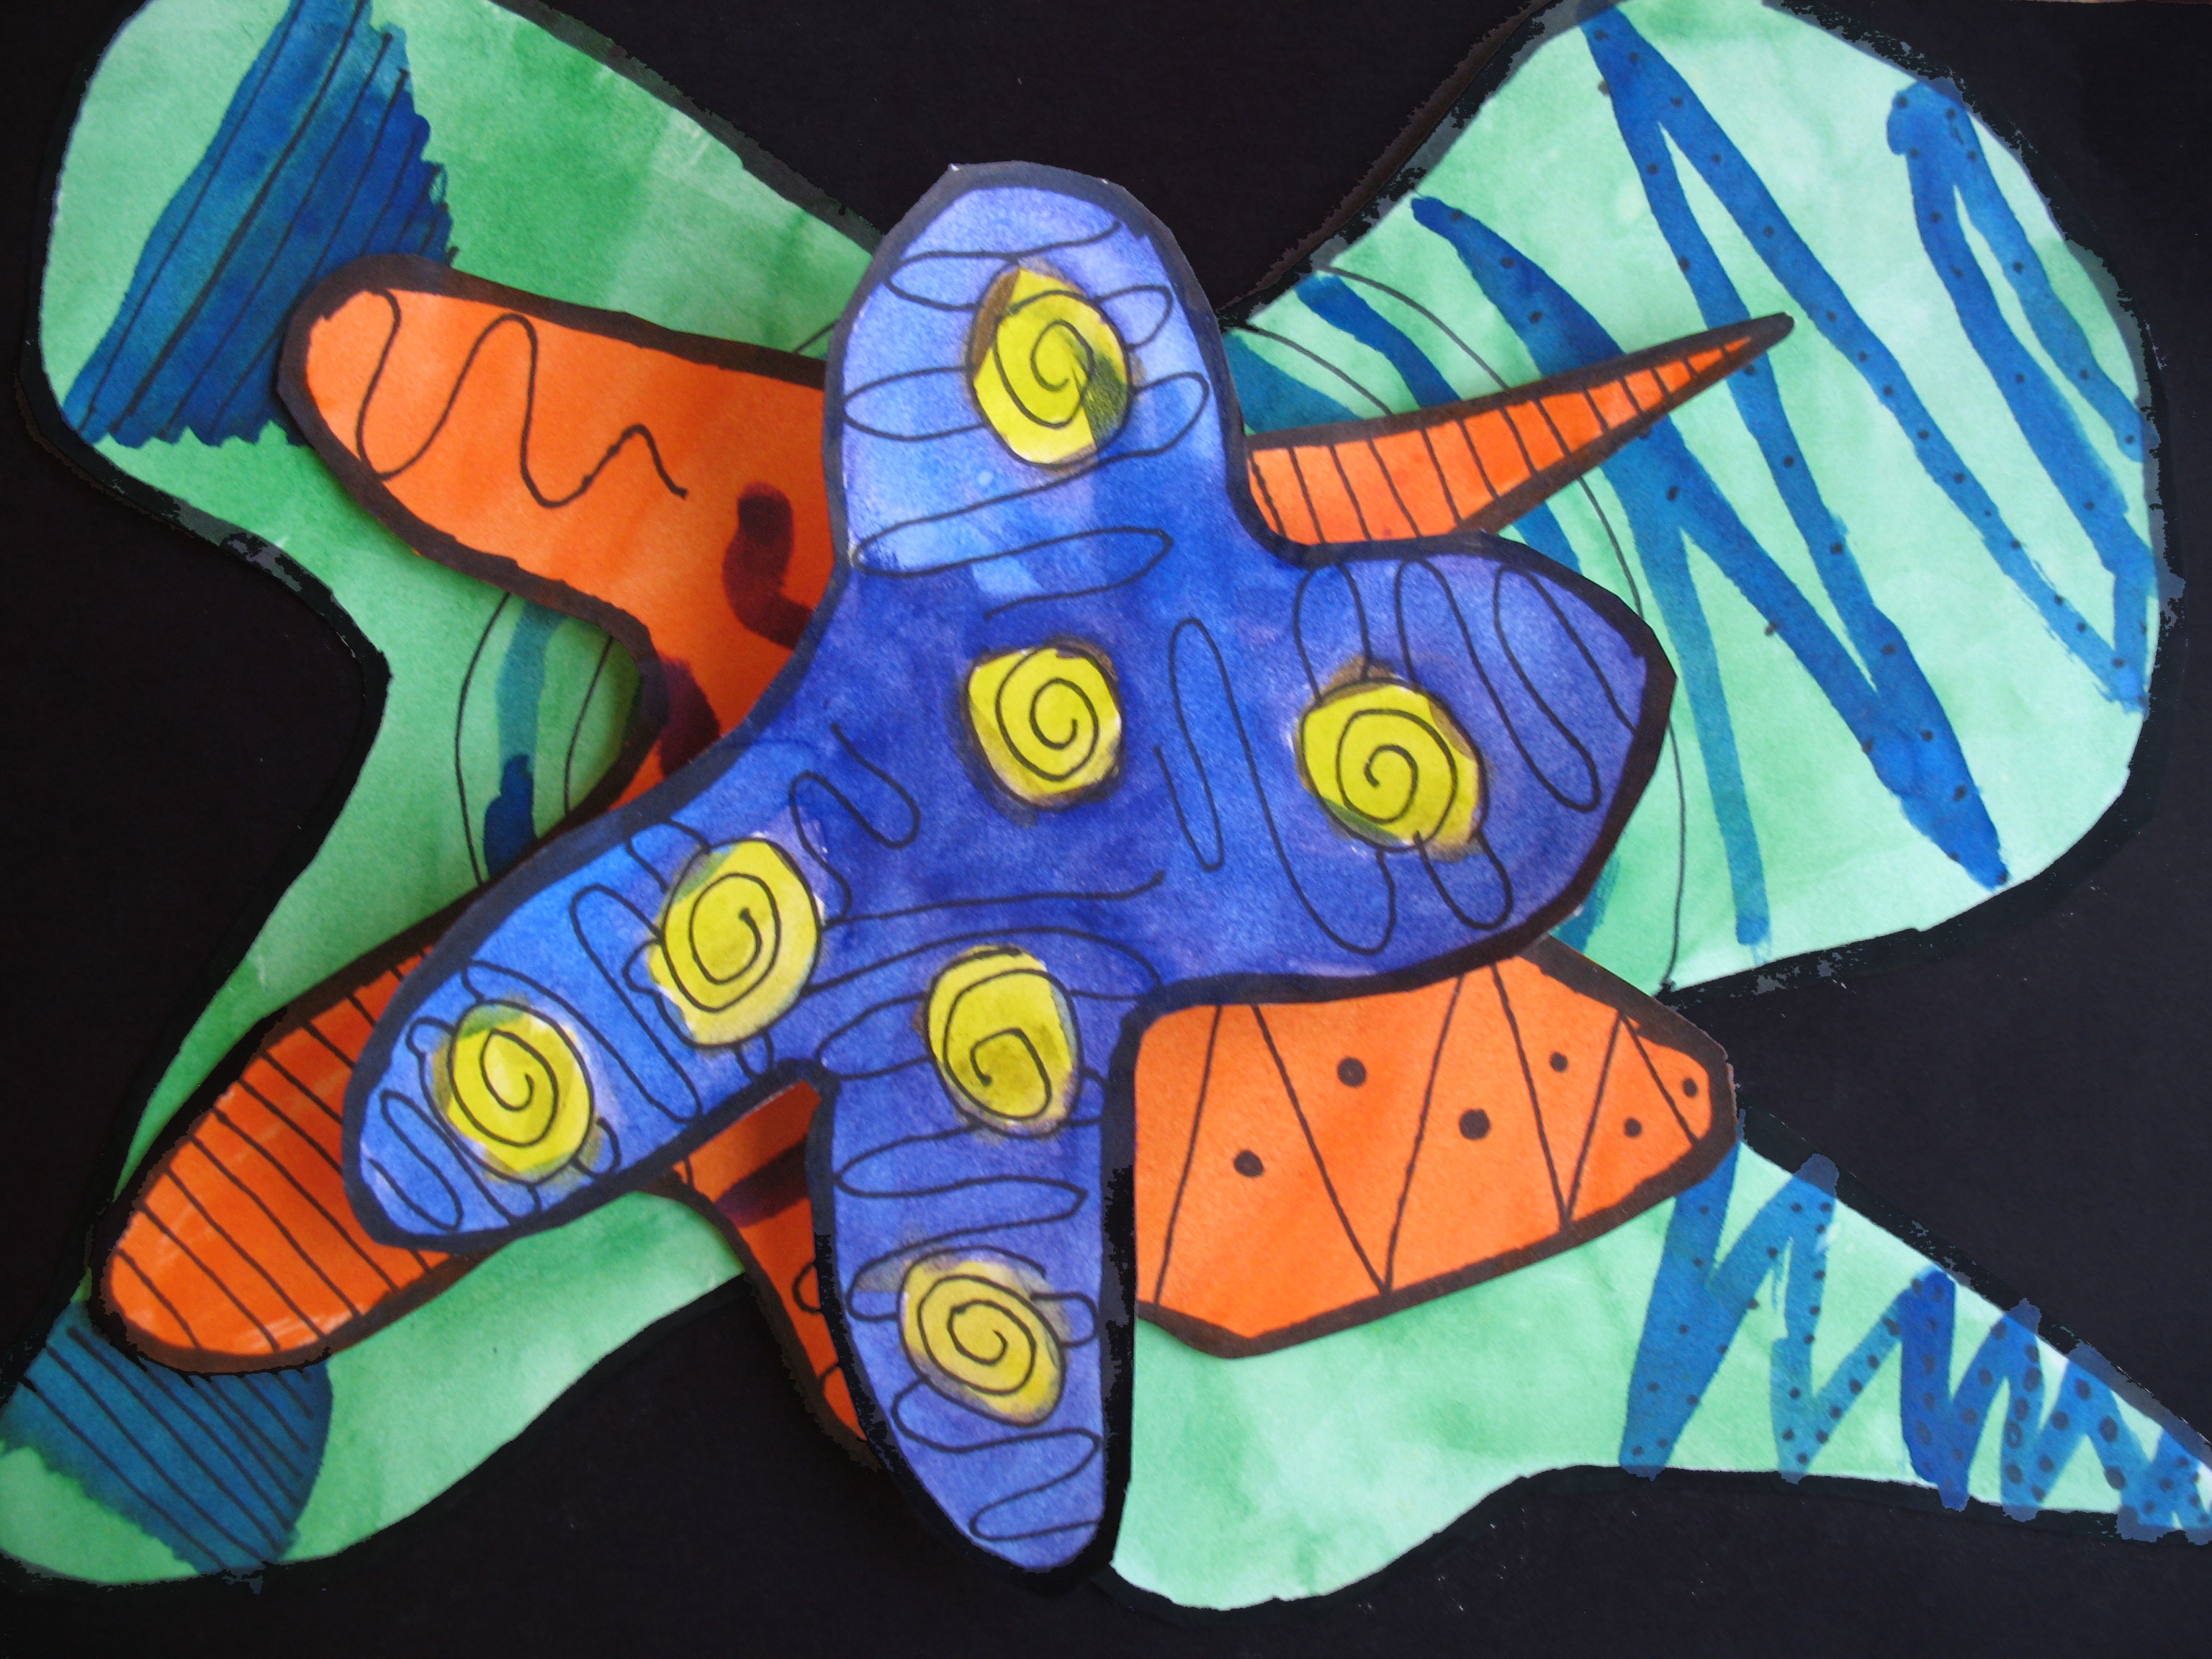
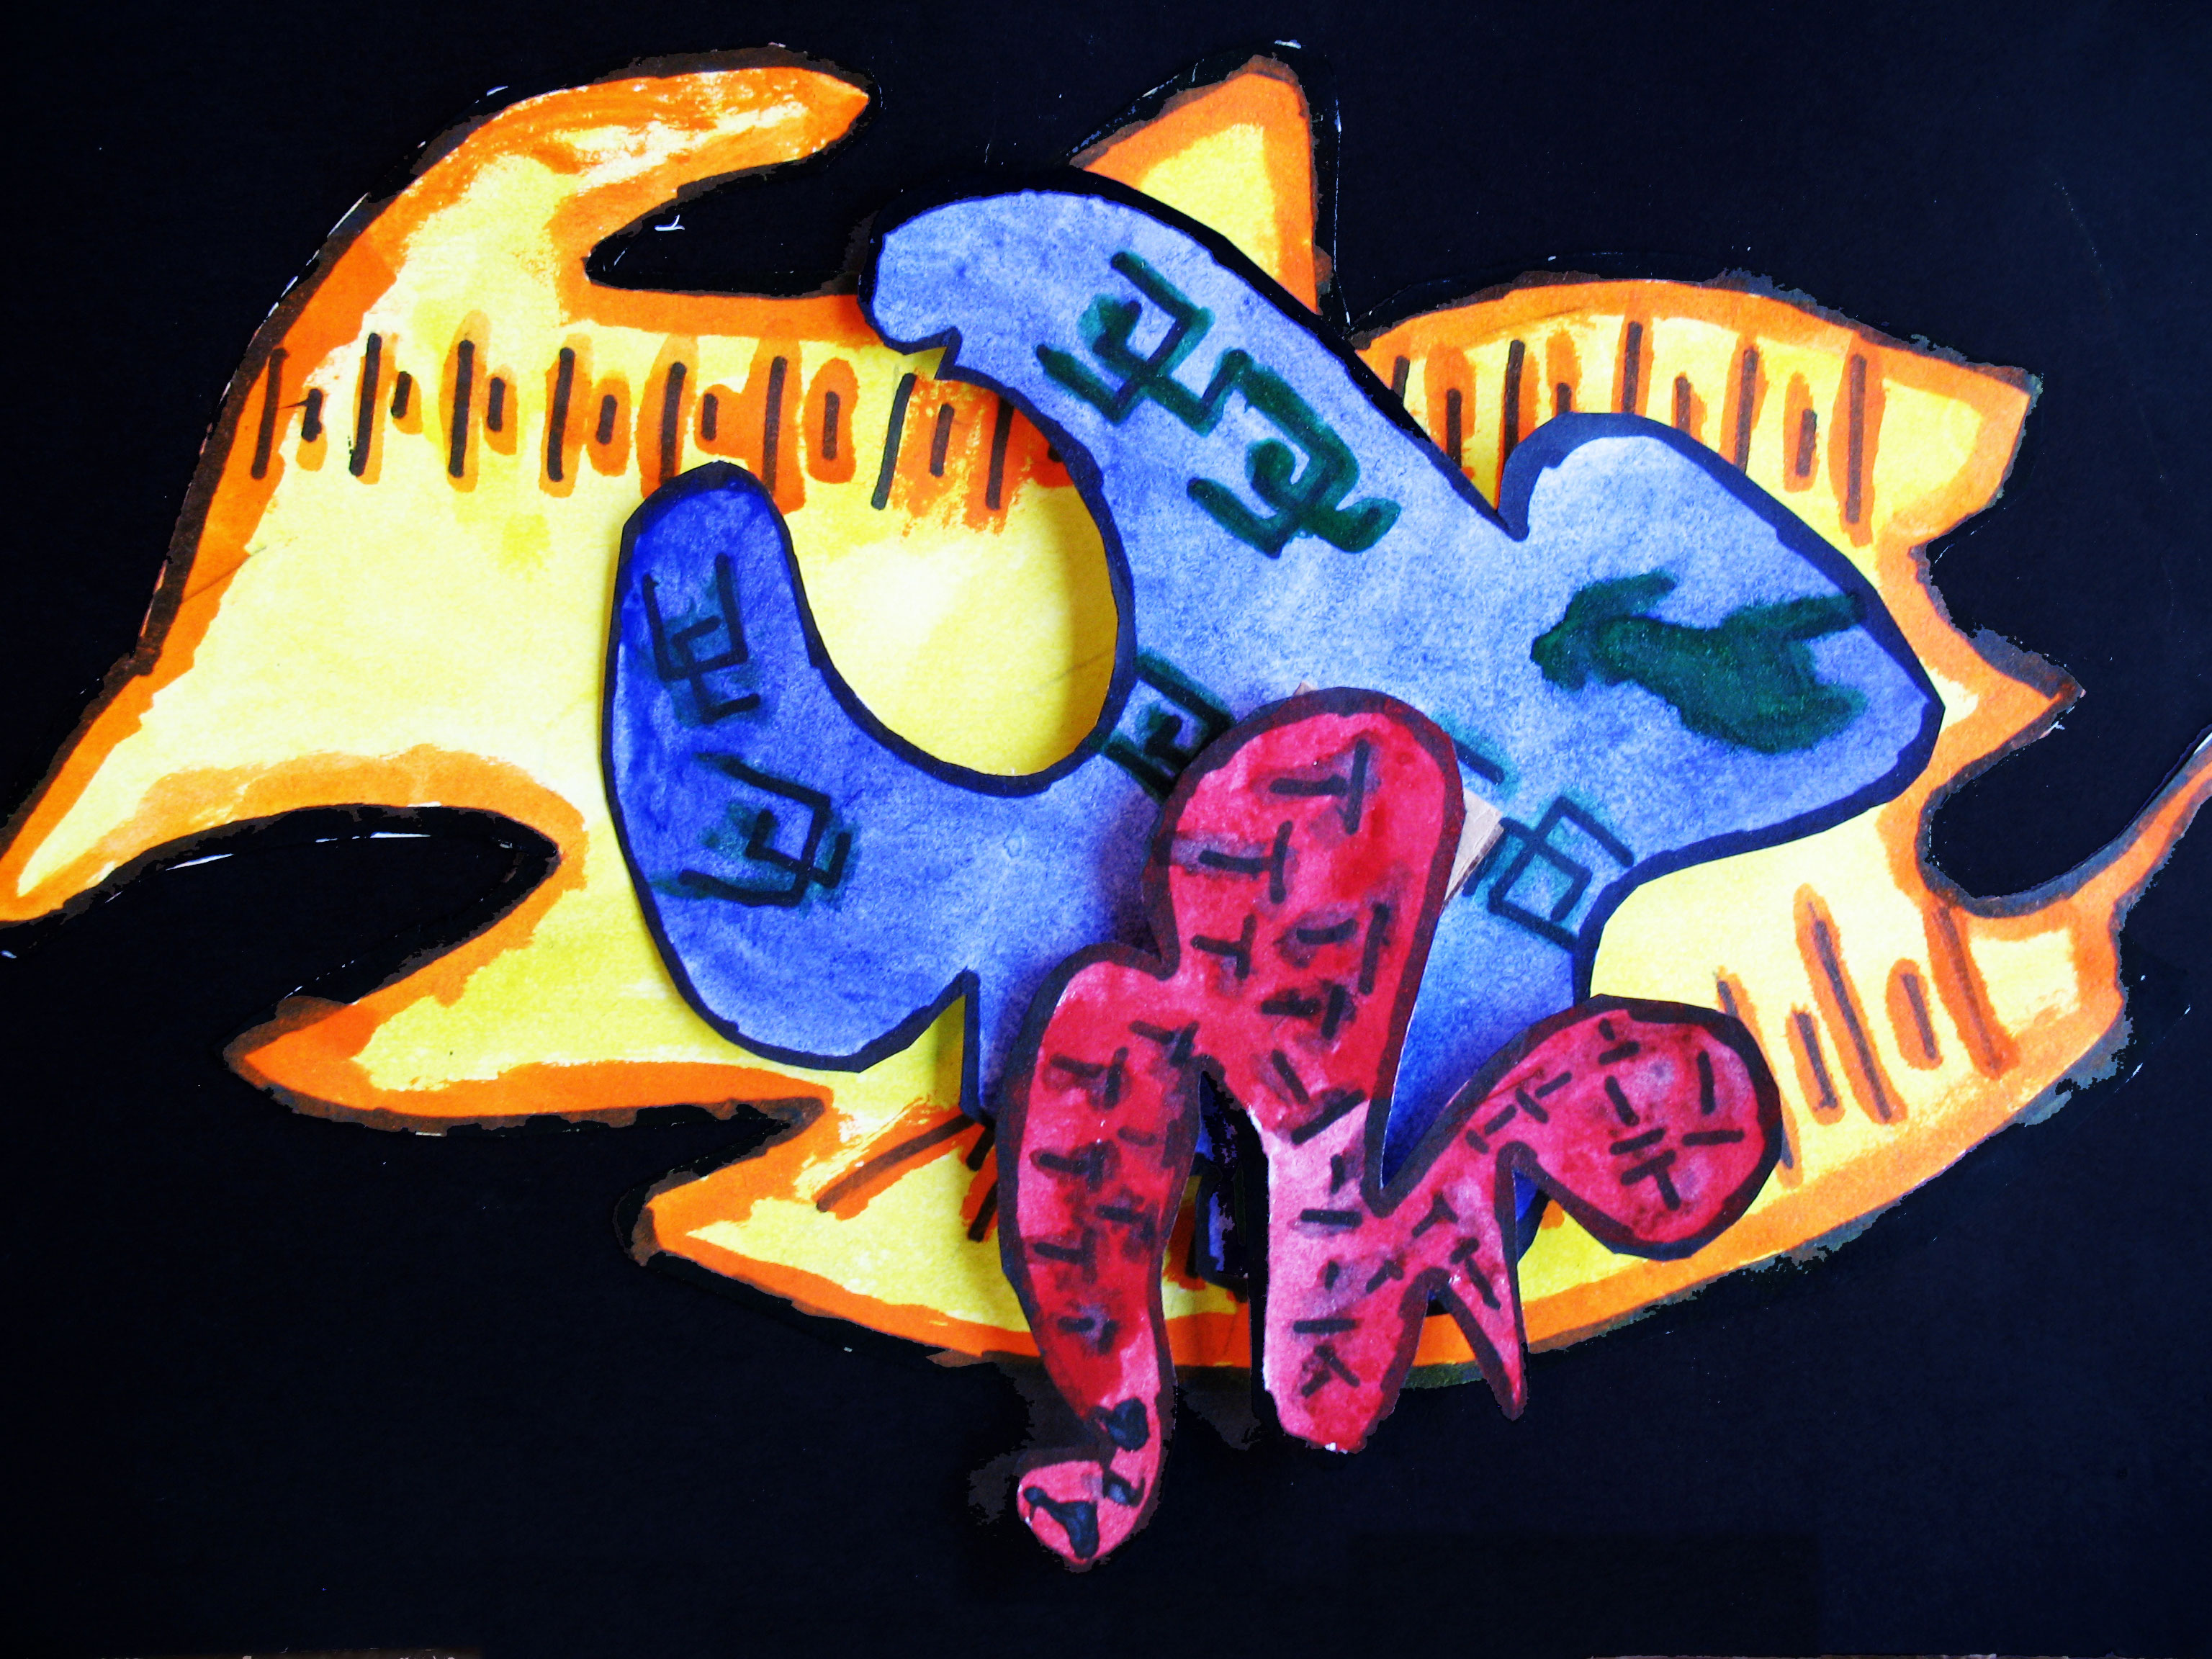
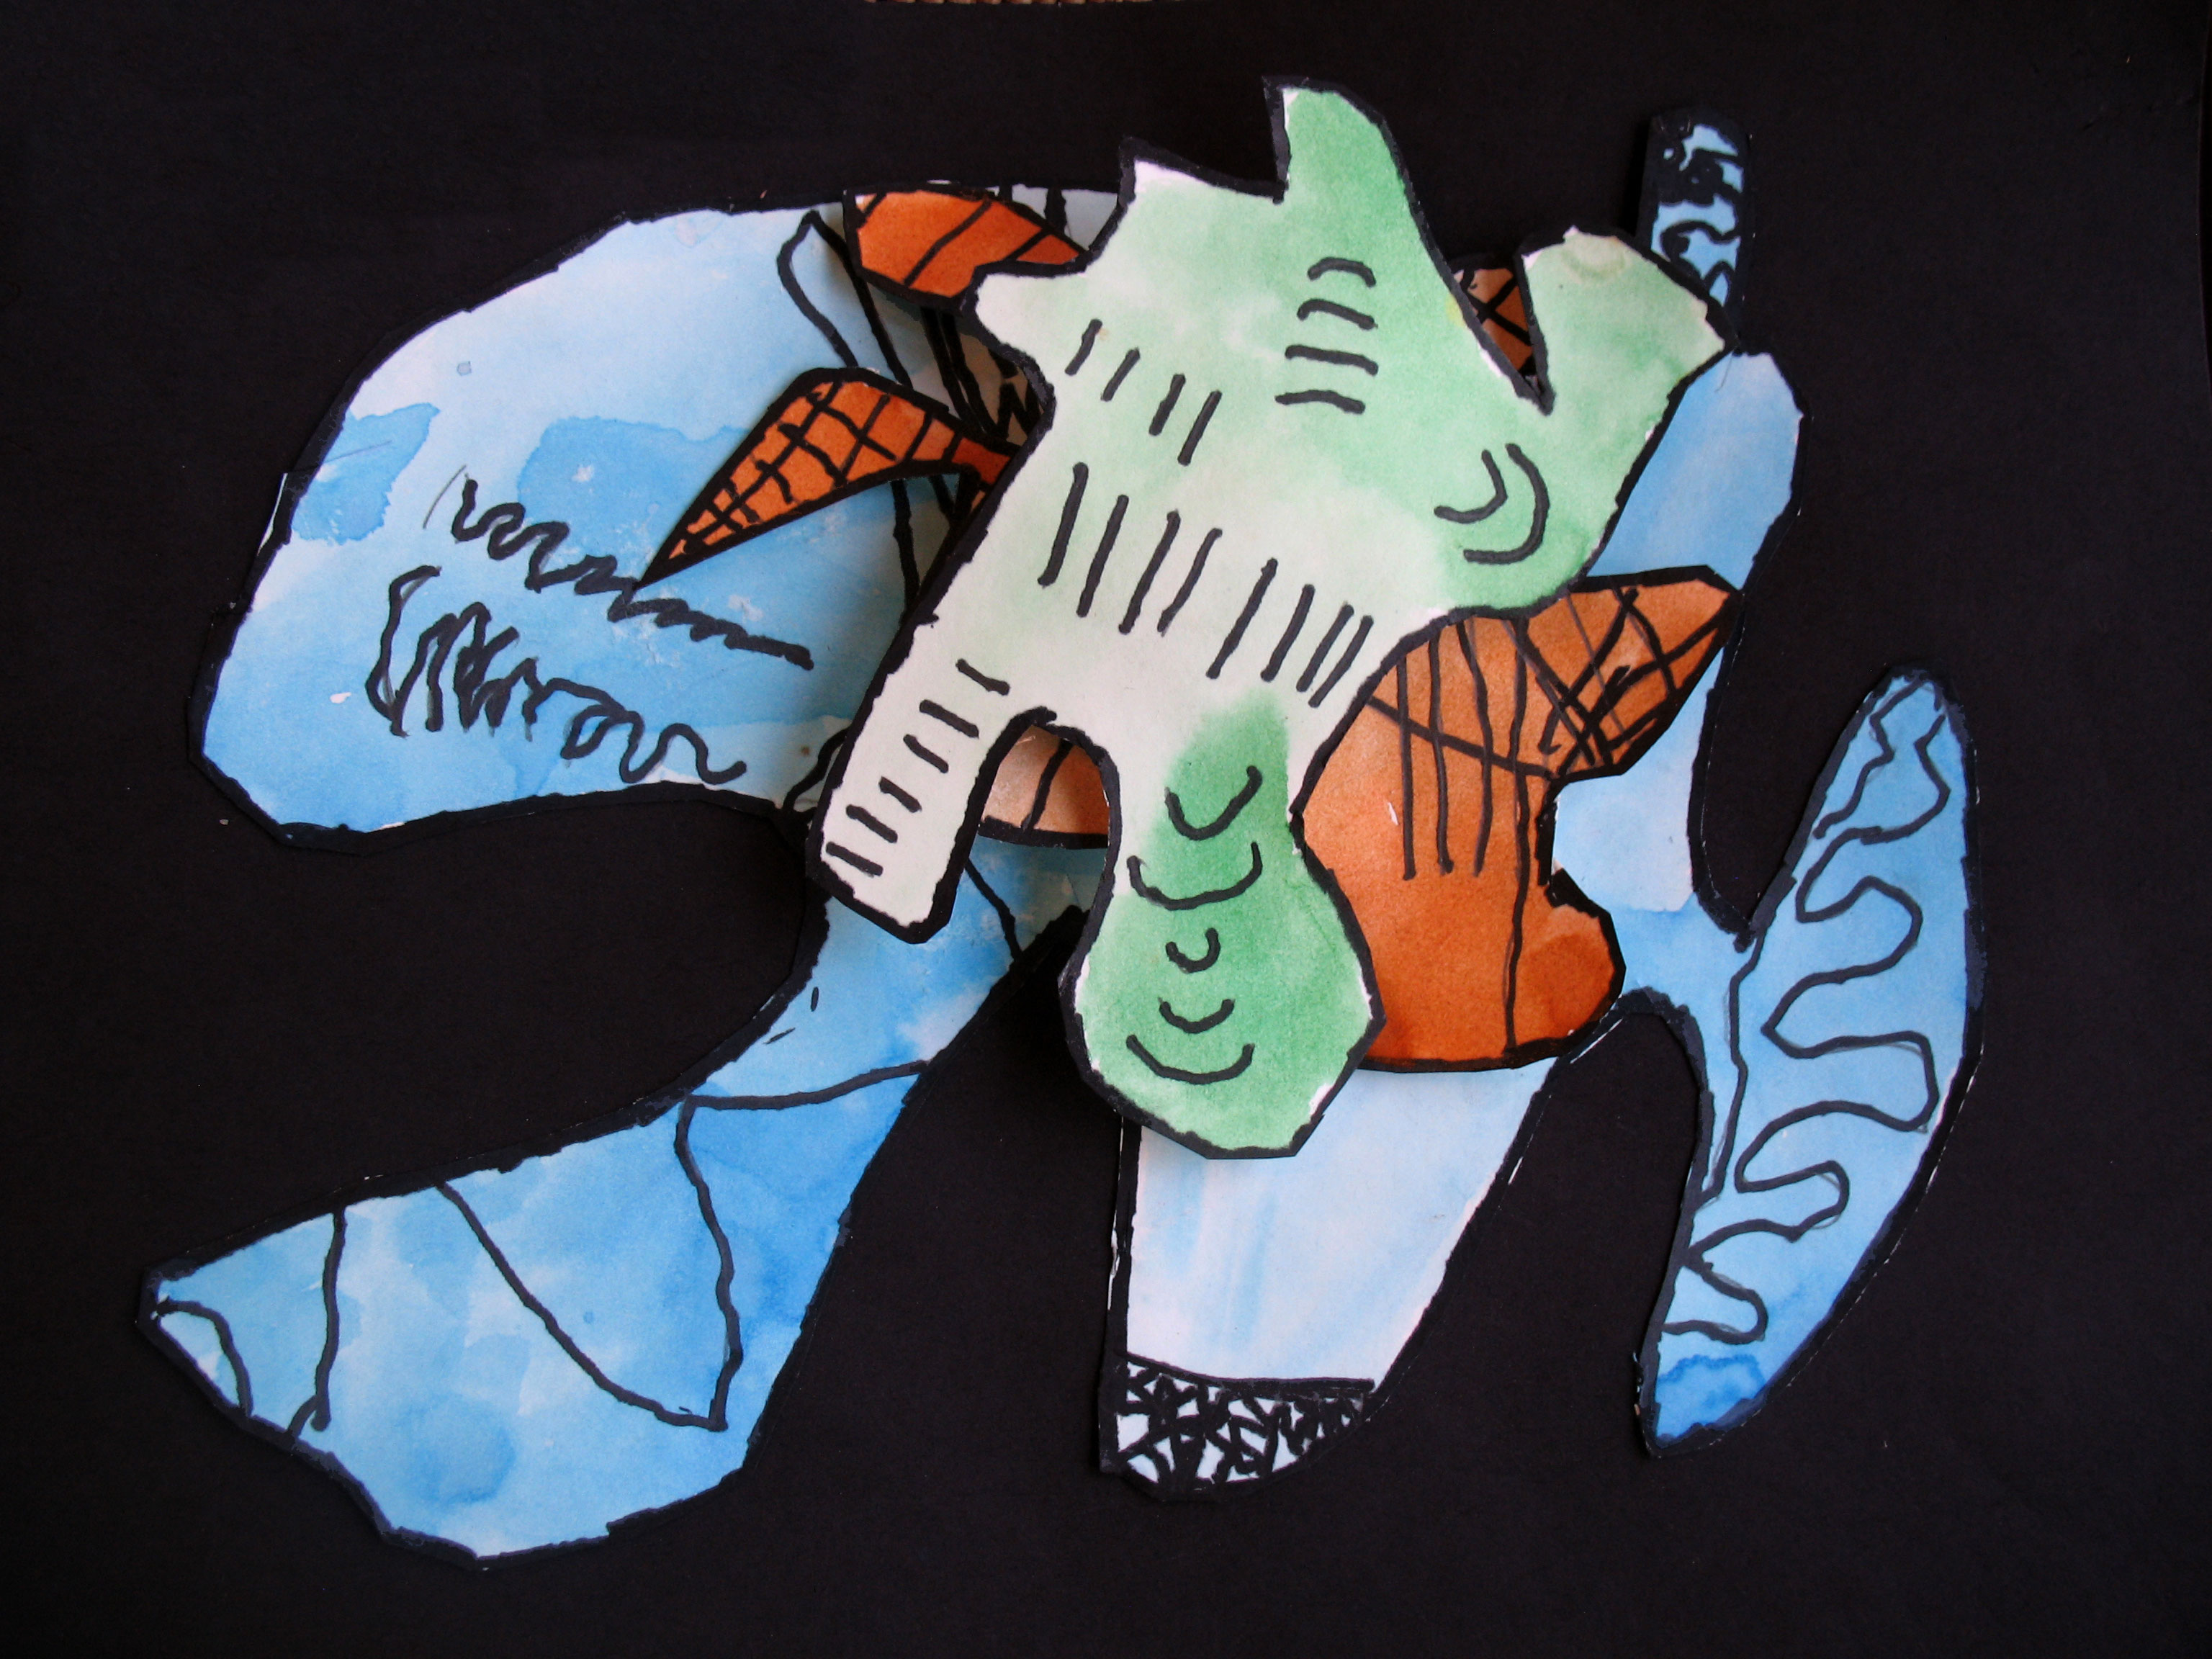
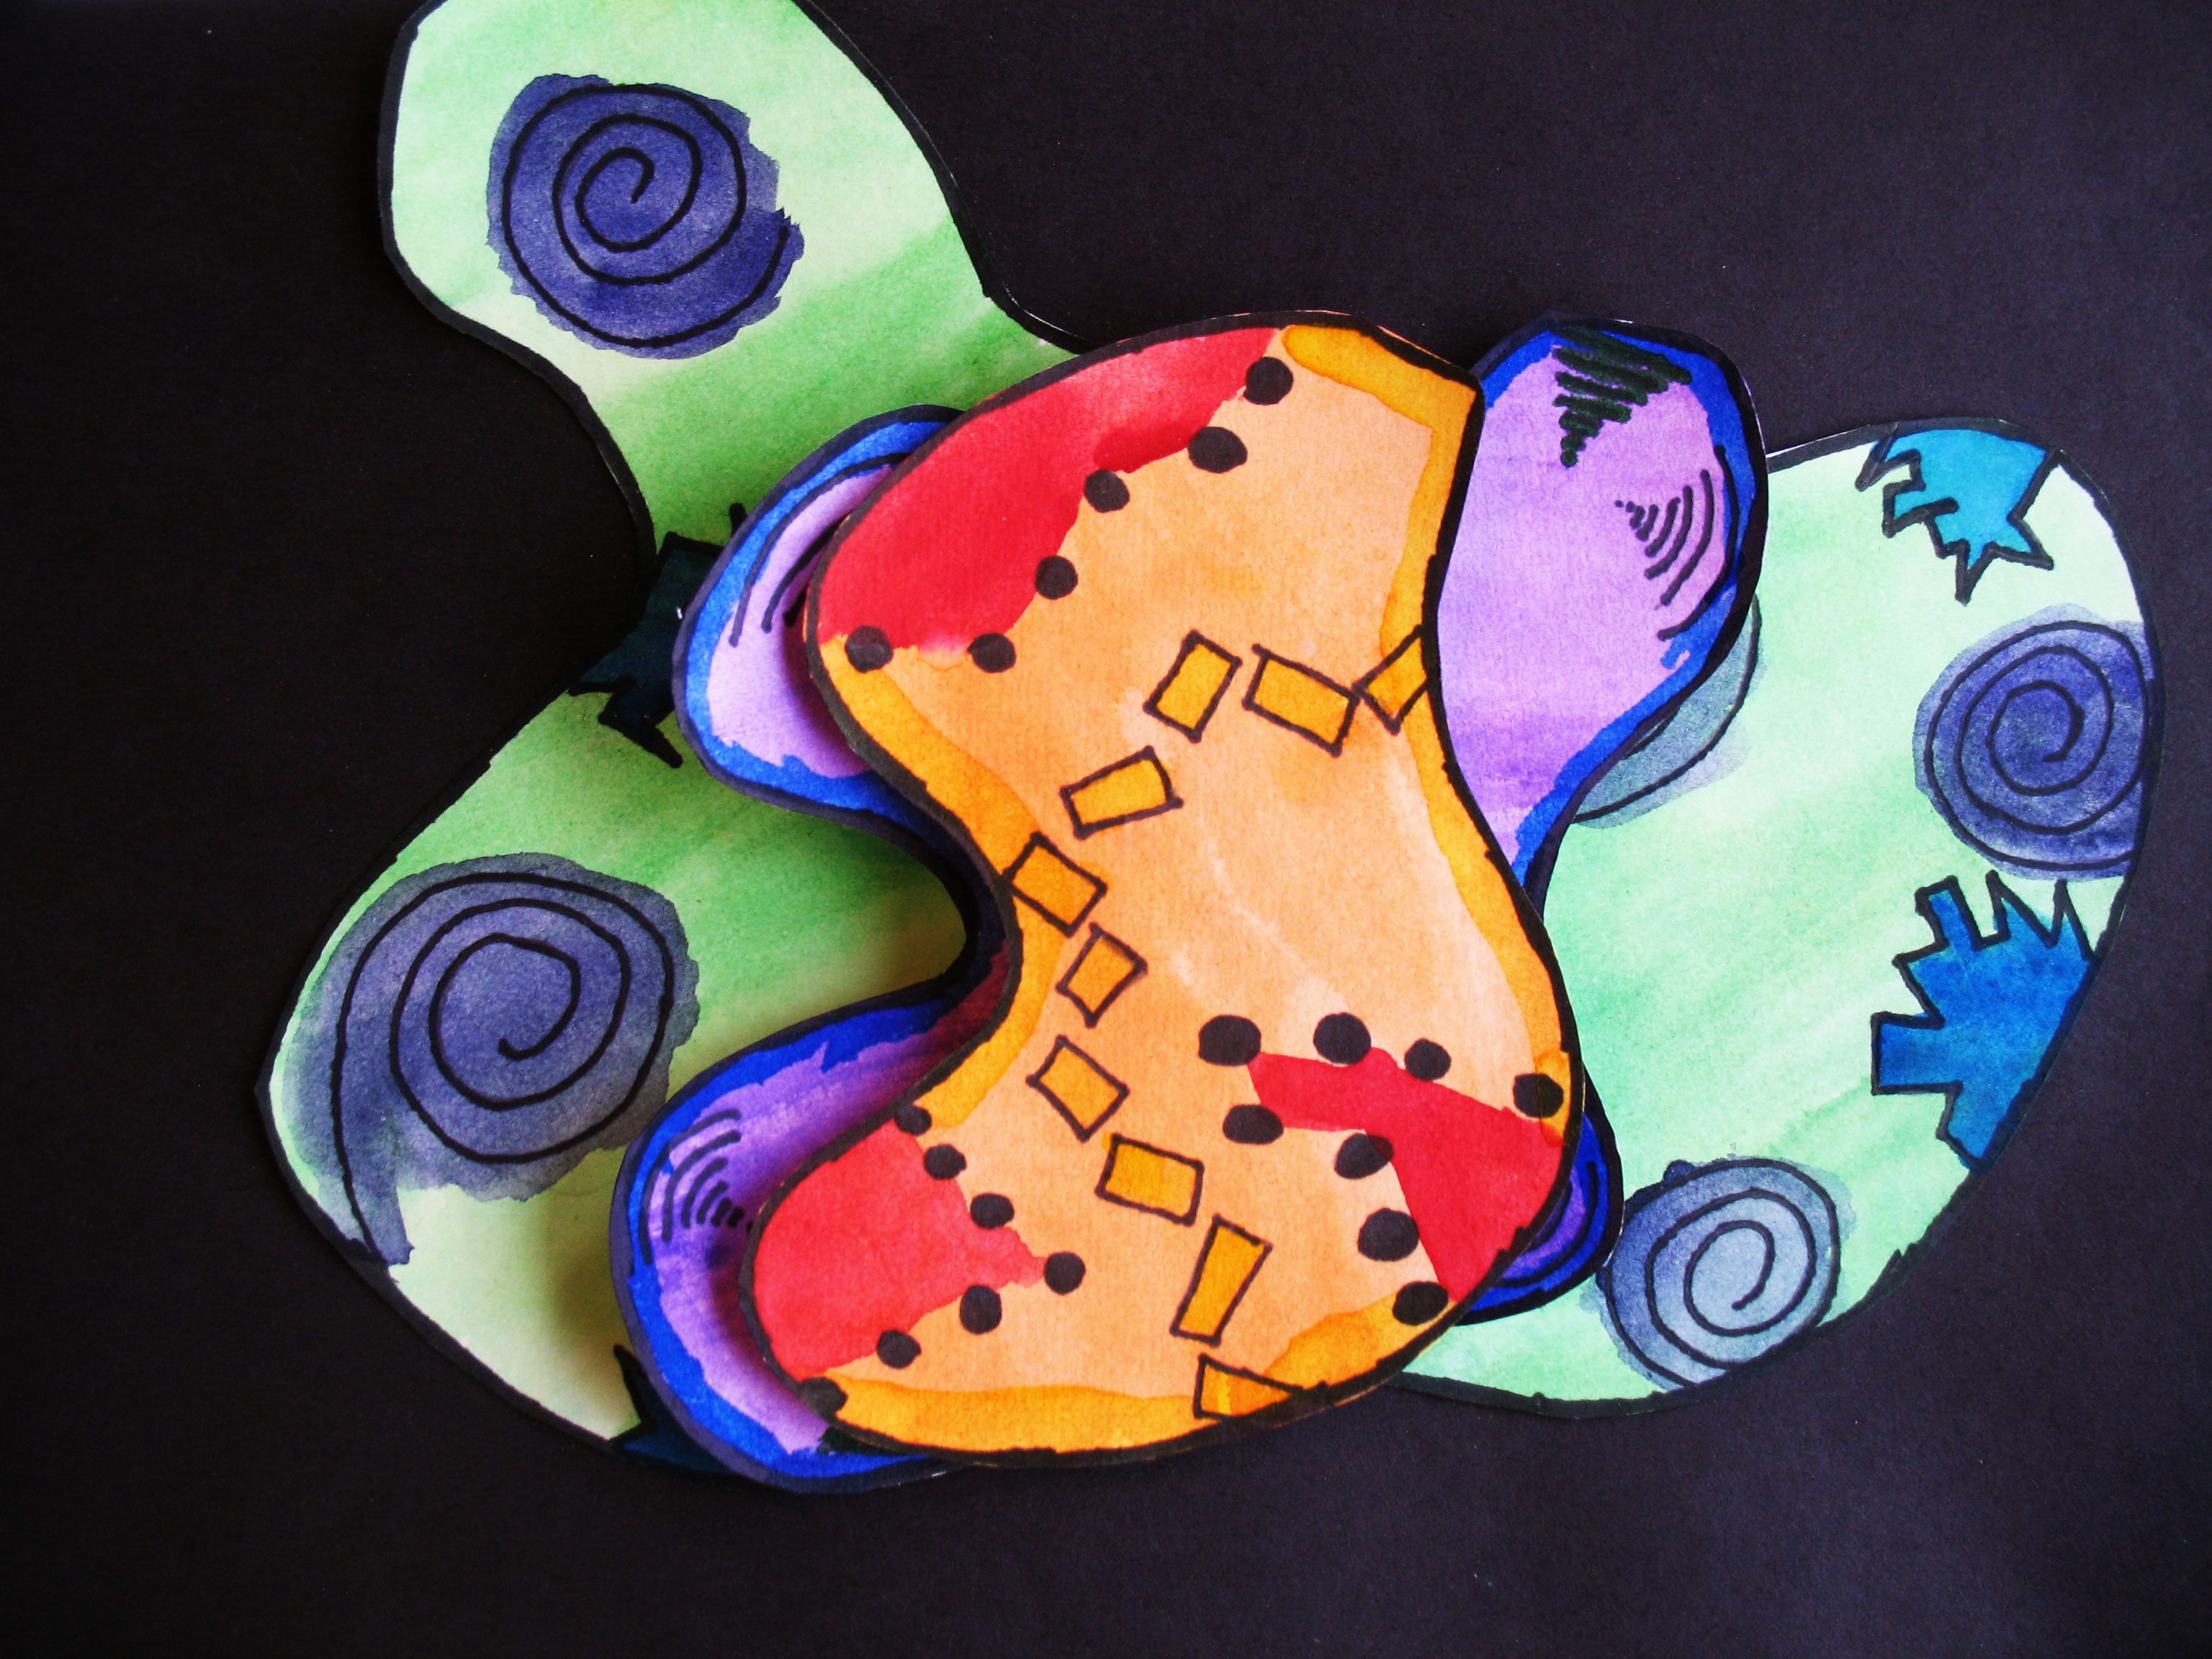
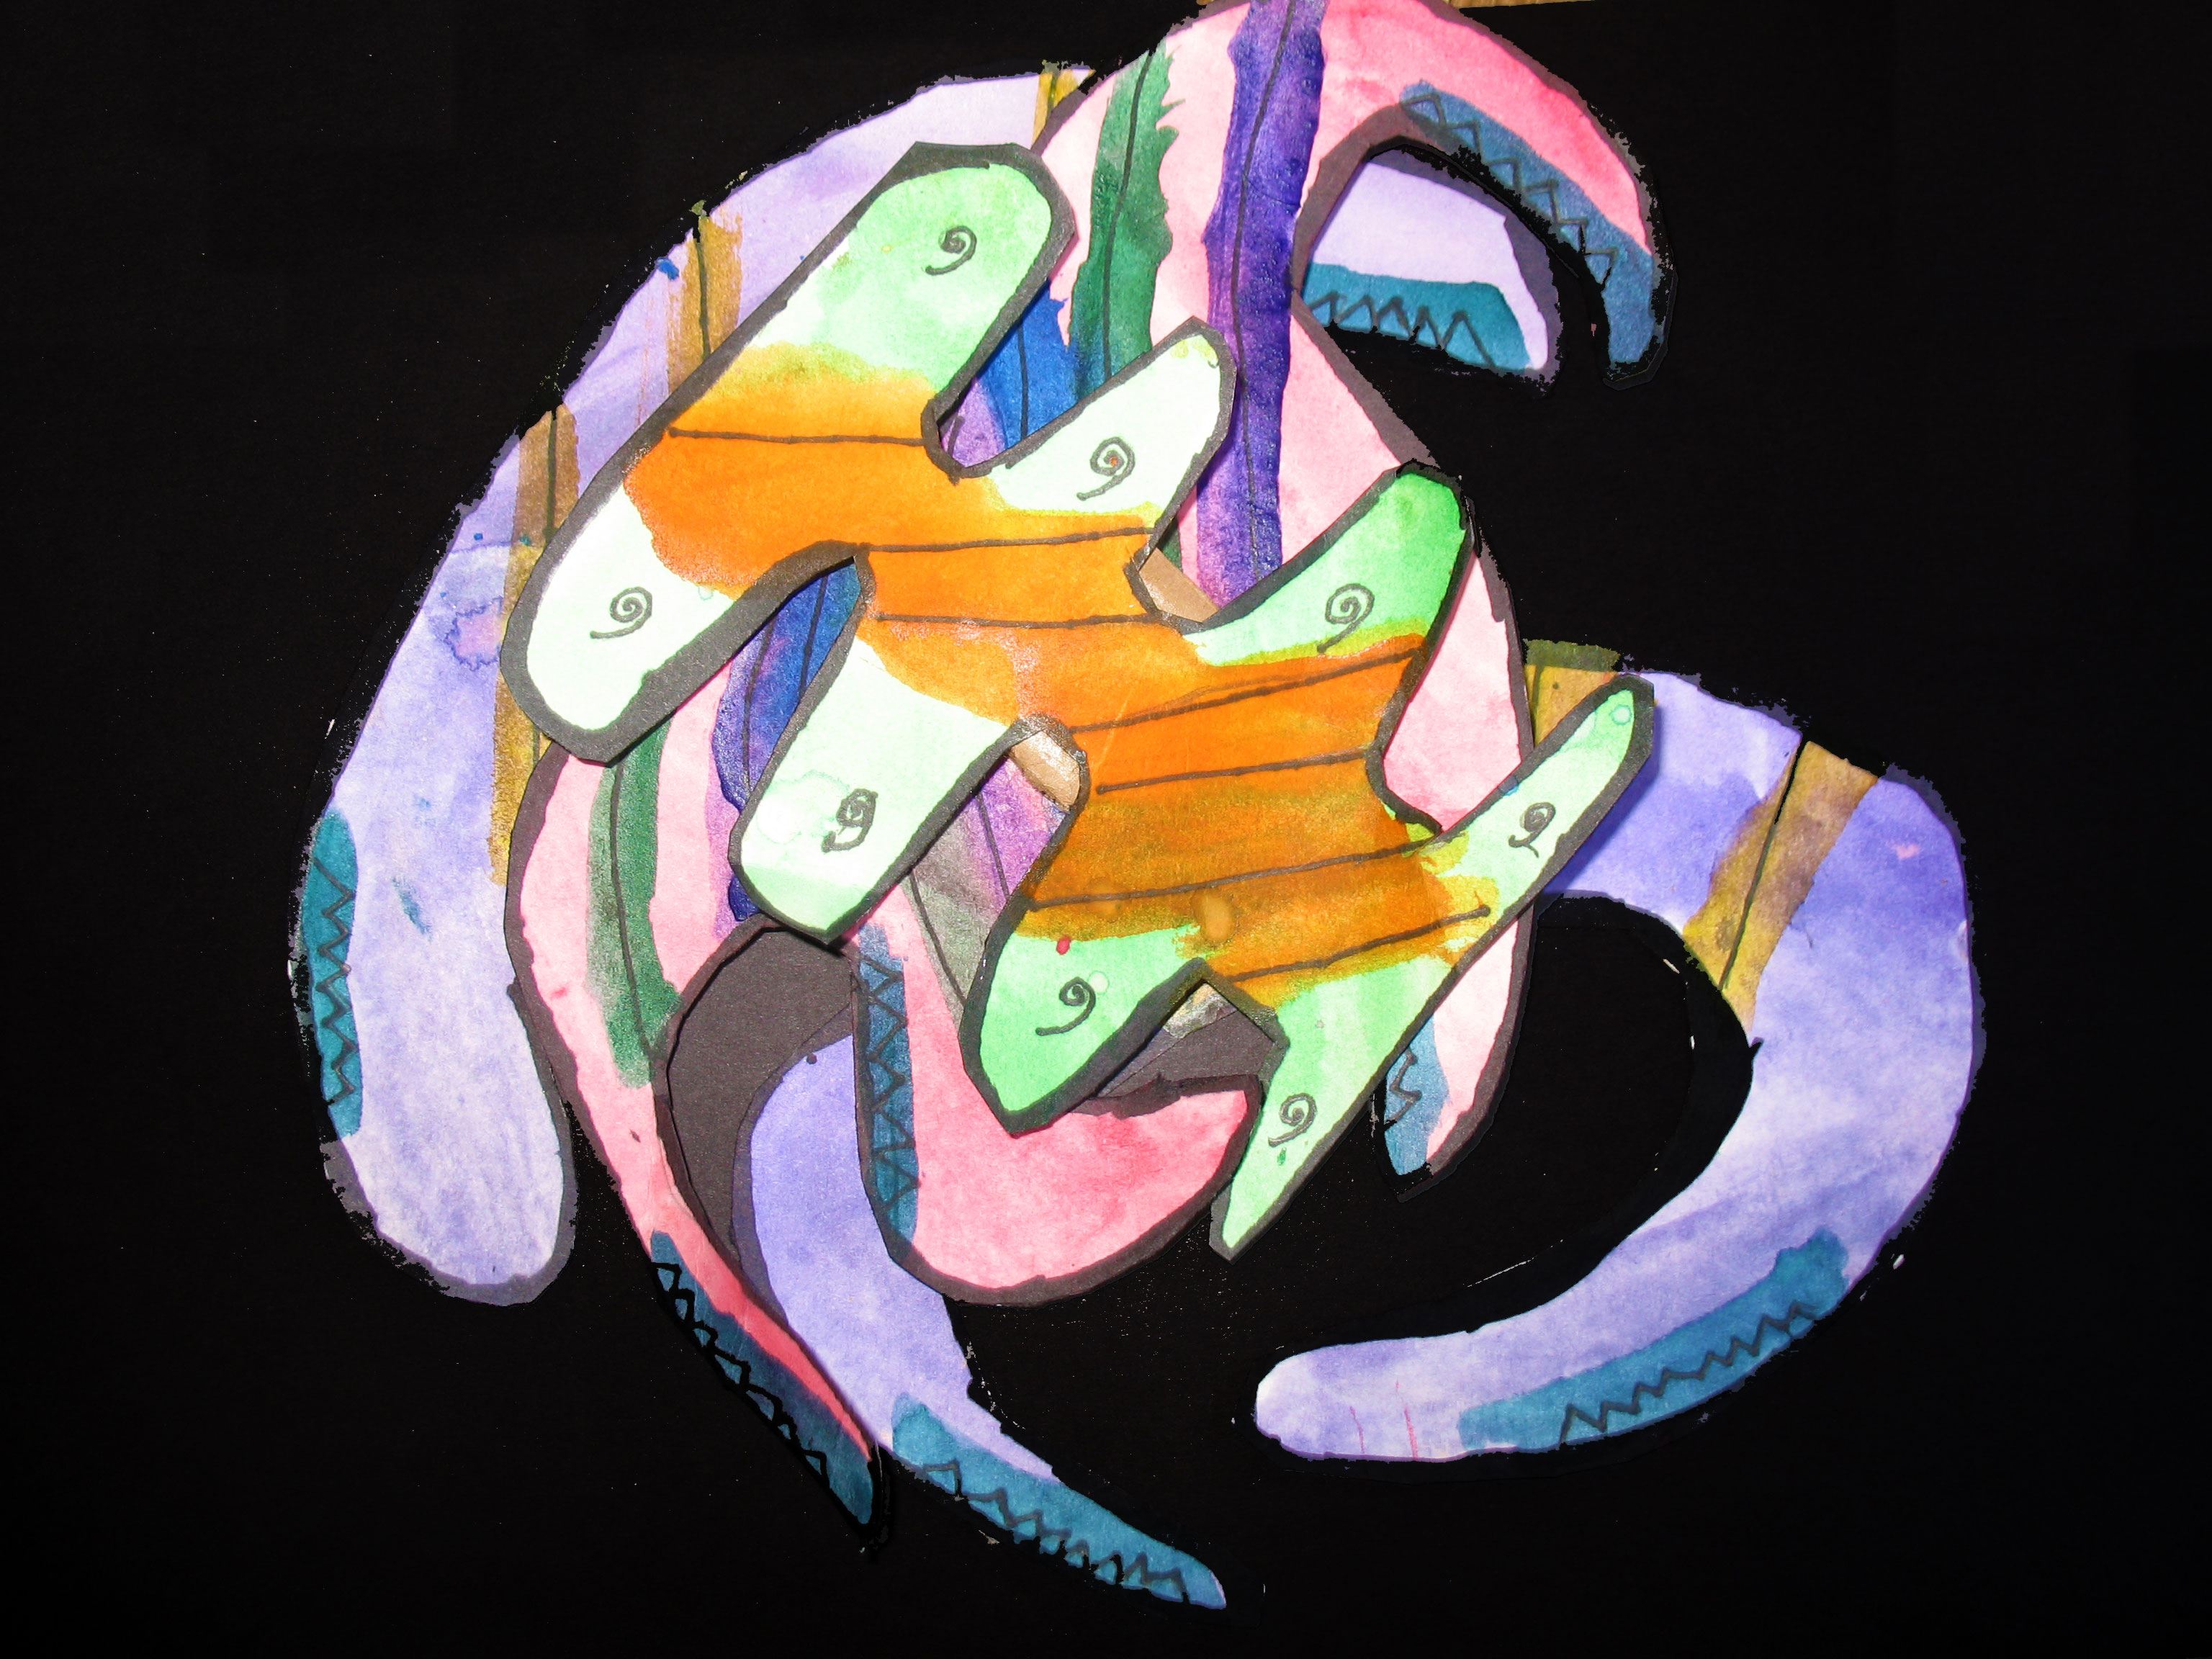
 To create their art, students followed three steps. They first drew their names in black sharpie marker to fit into an 8" x 8" square. Next, they cut the names into 16 two inch squares and rearranged those squares in an interesting way. While designing their composition students considered principles of design such as variety and harmony, balance, emphasis, pattern, rhythm and movement. When they were happy with their compositions, students colored their art using analogous colors. Using colors next to each other on the color wheel helped unify their finished pieces. 

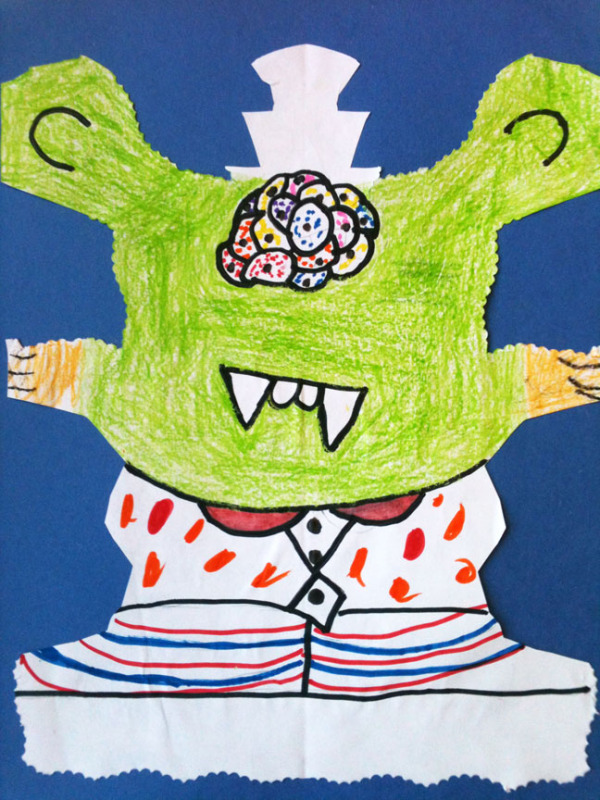
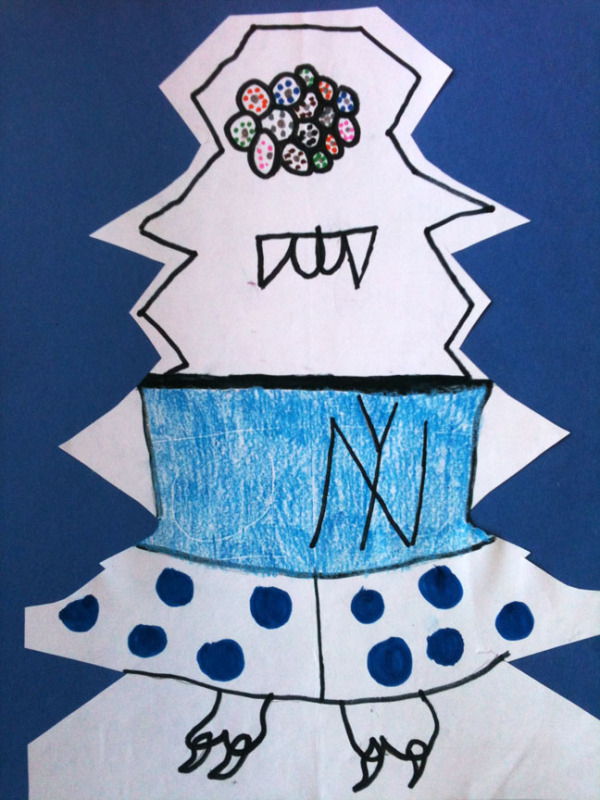
Take a look at how following these three simple steps produced a variety of terrific abstract art. Clicking on any image below brings you to a gallery of more work to see.

Step One, Step 2, Step 3


Friday
Oct182013

Name Monsters!

sym·me·try

noun \ˈsi-mə-trē\

: the quality of something that has two sides or halves that are the same or very close in size, shape, and position : the quality of having symmetrical parts

Our 4/5 class used the concept of symmetry (the above definition from the Merriam Webster online dictionary) to create these very cool Name Monsters. First step was to fold an 8" x 10" paper in half and write their name in cursive along the bottom fold. With the paper still folded, students cut all around the top and sides of their name, leaving the bottom fold intact.After opening the cut paper each student had a unique shape with which to fashion their own monster.

Working with marker, crayon or colored pencil our artists added facial features, clothes and anything else appropriate to their funny, sad or scary monsters. Take a look below. Clicking on any image takes you to more monsters!


Tuesday
Jun252013

Clay Insects

Our 4/5 class celebrated summer's impending arrival with their own insect project. Keeping in mind the rules for what makes an insect an insect (see Insect Collages,) students created their own three-dimensional insect using air-dry clay. When it was dry the insect was colored using paints or markers. Paper pulp served as a base for an insect home, which could be appropriately decorated with grass, tree branches, etc. The bottom half of an upside down 2 liter bottle served as a dome to protect the insect. Here they are! Click to view the insects in their gallery. 

Friday
May032013

A Hand for Mom Collage

Collage derives its name from the French verb coller, to glue. A work of art is created or enhanced by gluing things to its surface. While collage became a recognized art form during the Synthetic Cubist period of Picasso and Braque, the idea of attaching things to a piece of art to add interest goes back to primitive times.

 "Compotier avec fruits, violon et verre" by Pablo Picasso

Our 4/5 class combined the techniques of collage, crayon rubbing and watercolor to create these lovely works of art. After tracing their hands onto paper, they filled the area with scraps of magazine pages. The paper added a unique range of colors and textures to their hands. The hands were cut out and glued to background paper which had been placed over pressed tin and rubbed with crayon. Finally, the artists blended watercolors out from their hands to partially color the background. The use of complementary colors as well as adding a black border really makes the images pop. I love the dramatic and colorful results, and as bonus they'll make wonderful Mother's Day gifts! Click on any image below to see all this gorgeous art.

Wednesday
Apr172013

Carnival Masks!

Yippee! For the last several weeks our 6th, 7th and 8th grade students have been working hard on the creation of masks for their celebration of Carnival around the world. I am happy to finally begin sharing the results. Parents, you should be proud of your students, they all put in their maxium effort and we have many gorgeous masks to show for it. For those of you who missed the mask display on Carnaval night, you have a another chance to see them right here.

Before beginnning the lesson in the art room, students spent time in their Spanish classes studying Carnival celebrations and culture in the various countries around the world who celebrate the pre-Lenten event. Just as cultures and celebrations differ widely, so do mask designs. After choosing a photo of a favorite mask students set about creating their own in a similar style. Many chose to build their masks in paper mache, which was then painted with tempera or acyrylic paints. Others created their designs with layered poster papers and foil. Feathers, glitter and whatever was available in the art room was utilized to make their masks as authentic as possible.

Click on any image below to get to the gallery. I'll be adding more masks next week as they are completed.


Friday
Feb222013

Weaving Pendants

Here is a small project our grade six students just completed. Creating their own cardboard loom, they learned simple weaving vocabulary and techniques as well as the difference between real and implied texture. The results could be pendants or mini wall hangings. Super!

Friday
Feb222013

Valentine LOVE

The artist Robert Indiana's rendering of LOVE in paintings and sculpture has become an icon of 20th-century art. For Valentine's Day our 4/5 students recreated his work with craft sticks. My thanks to Kathy Barbro at the website artprojectsforkids.org for this great project idea. I love how our students always add creativity and make an idea their own! Click on any image below for lots of great results.